# Uploads and Media History
Bring local files and media history into the current canvas, and reuse existing image, video, and audio results.
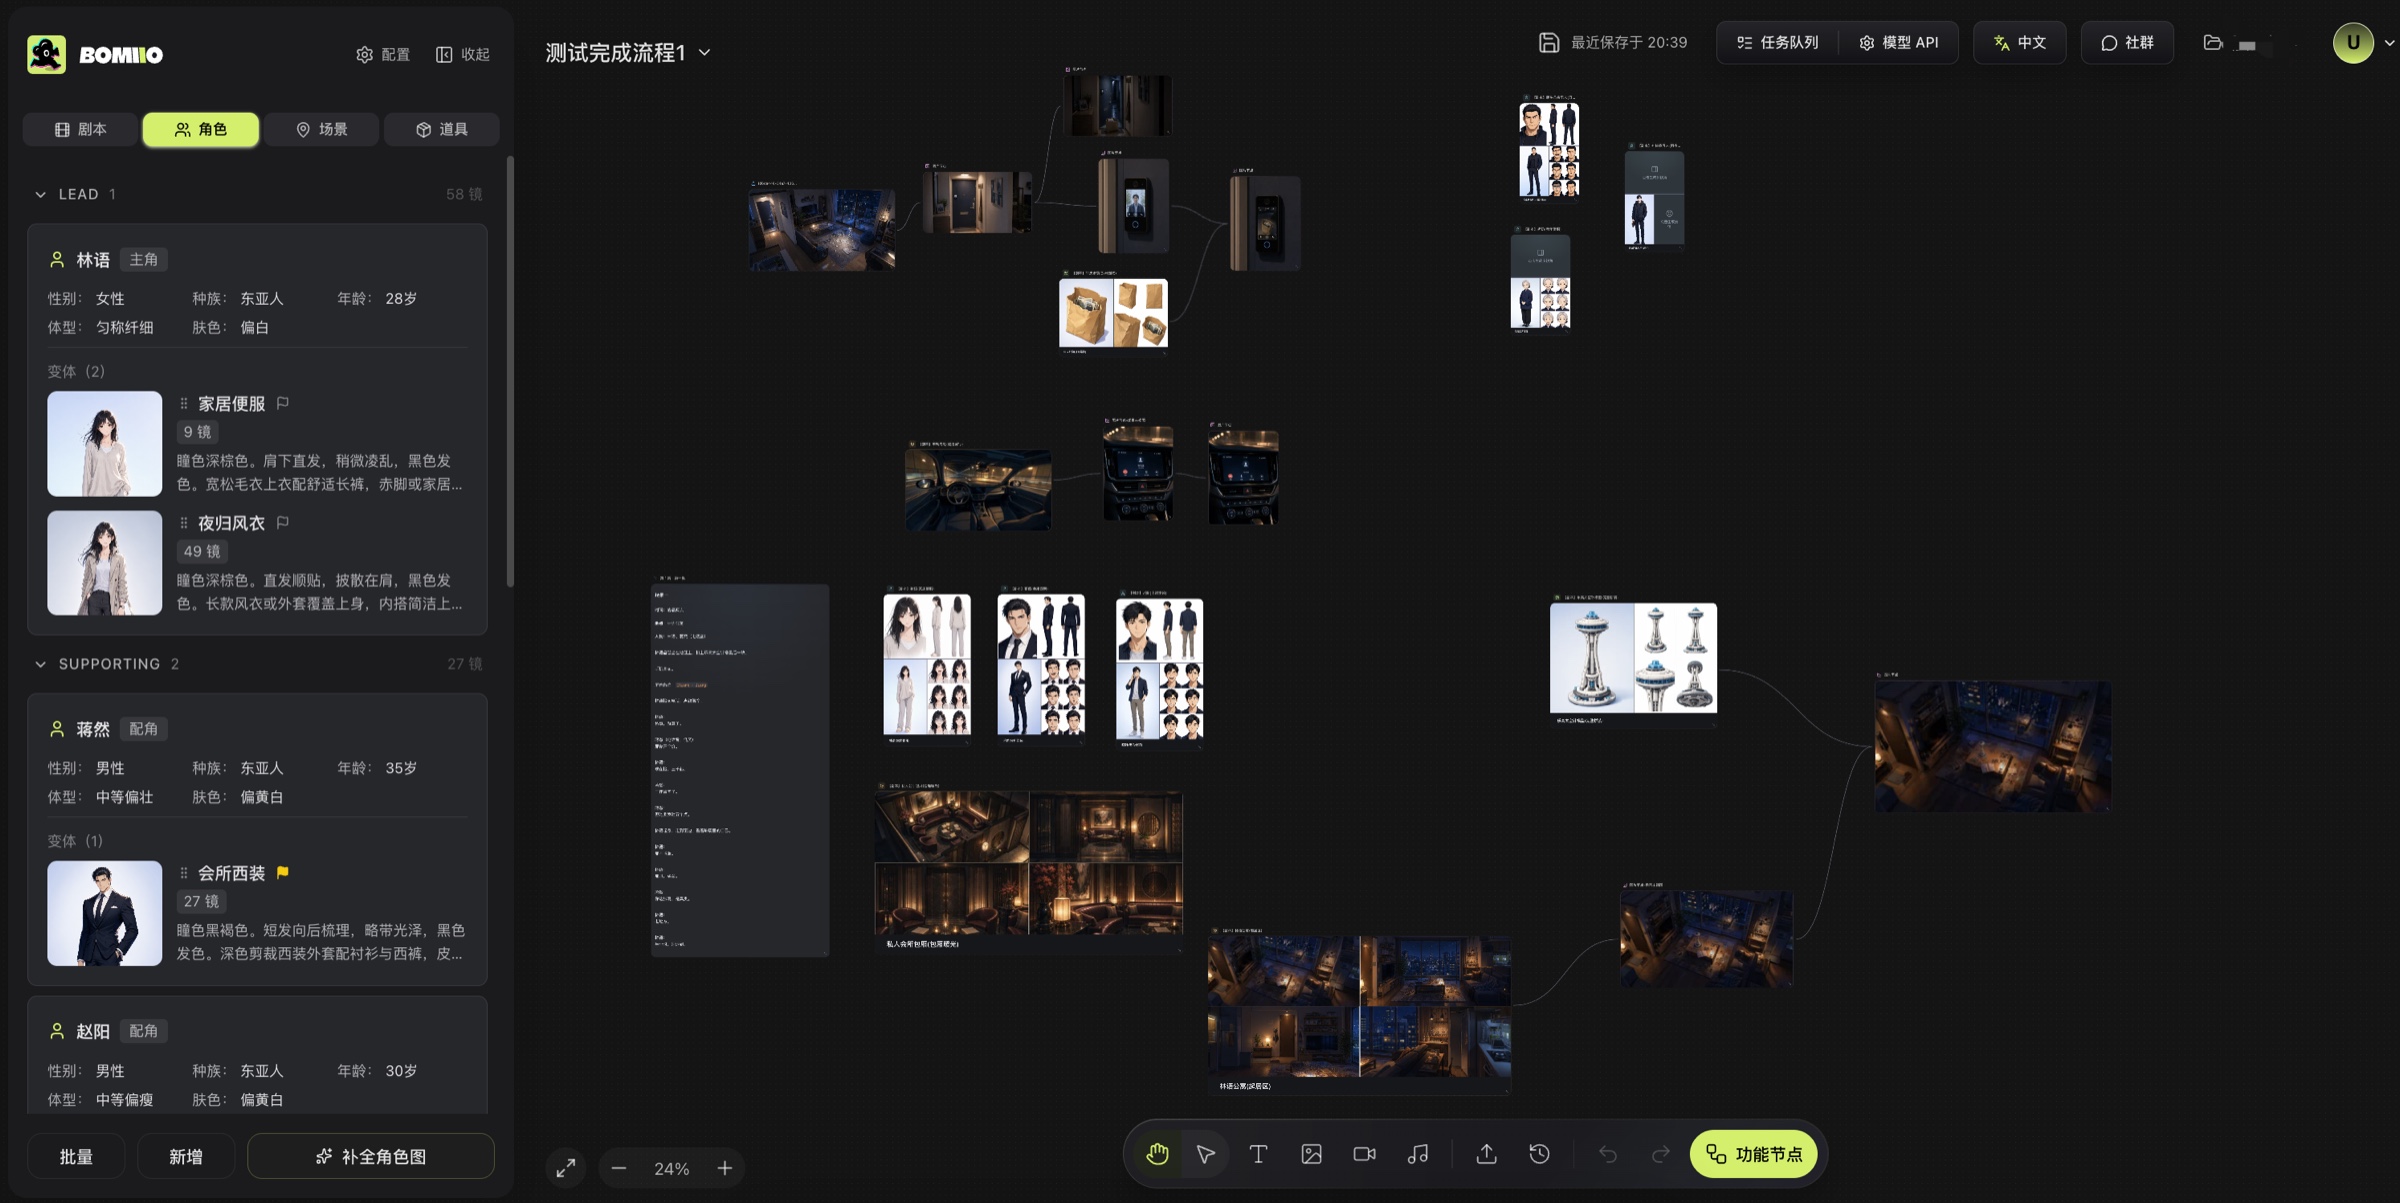
Upload in Infinite Canvas is more than just an upload button. It is also an import entry that can turn local files or media from the current canvas history into Upload nodes, which can then connect to other nodes.
## Opening the entry
You can enter it from four places:
- The "Upload" button in the bottom toolbar.
- Double-click empty canvas space, then choose "Upload" from the menu.
- Drag files directly onto the canvas.
- Upload entries inside asset nodes, image nodes, and video nodes.
## Local files
Currently supported upload file types include:
- `.txt`
- `.jpg` / `.jpeg` / `.png` / `.gif` / `.webp`
- `.mp4` / `.webm` / `.mov`
- `.mp3` / `.wav`
Current upload size limits are: text 1 MB, images 10 MB, audio 30 MB, and video 50 MB. The file extension must match the actual media type.
> Some browser file pickers may still show `.md` or `.ogg`, but the current server does not accept those formats. Convert them to `.txt` or `.wav` / `.mp3` before uploading.
What happens after a local import:
- Text appears directly as text output.
- Images, videos, and audio create Upload nodes.
- Images and videos read their dimensions and size the node according to the asset ratio.
- Media files first appear on the canvas as local previews, then upload in the background; once upload succeeds, the node output is replaced with the server URL.
## Canvas media history
The other side of the upload dialog is "Canvas Media History"; the bottom toolbar's "History" is used to filter and preview assets within the same canvas scope:
- Only assets that already exist within the current canvas scope are shown.
- You can filter by "asset source" and "asset usage."
- More items can be loaded continuously.
- To put a history asset back onto the canvas, confirm the selection in the Upload dialog; the system creates an Upload node or writes the asset into the current upload entry.
Visible asset sources include:
- User upload
- AI generation
- Derivation
- Export
- External import
Visible asset usages include:
- Current
- History
- Reference
- Thumbnail
- Timeline
- Output
## Switching between local and history
The upload dialog keeps only one selection state at a time:
- Switching to local files clears any selected historical media.
- Switching to media history clears any local files waiting to be uploaded.
This is also the exact hint text shown in the UI.
## Most common use cases
- To bring external images, videos, or audio into the canvas: use local files.
- To reuse something you just generated: use canvas media history.
- To feed the same asset into multiple downstream nodes: create one Upload node first, then reuse it through connections.
> After selecting assets from local files or canvas history and creating nodes, you can arrange them freely in Infinite Canvas and reuse the same asset across different generation flows through connections.
## Continue reading
- [Node Types](/docs/bomitv/canvas/nodes.md)
- [Connections and Upstream References](/docs/bomitv/canvas/connections.md)
- [Asset Refinement and Push-back](/docs/bomitv/canvas/asset-workflow.md)