# Create Your First Short-Drama Episode
Use one script to walk through the full workflow of assets, storyboards, video generation, editing, and export.
This is the shortest successful path for first-time Bomiio users. The goal is not to perfect every detail on the first pass. It is to produce a structurally complete episode that you can preview and export, then make focused adjustments to the parts that need work.
## Before you start
- You have a working AstraFlow account.
- The Director Console settings have usable script, scheduler, image, and video models.
- The single-episode script is saved as a `.txt` file no larger than 500 KB, or you are ready to paste the text.
- The script has clearly recognizable descriptions for characters, locations, and plot sections.
If you have not finished model setup, read [Connect AstraFlow](/docs/bomitv/getting-started/astraflow.md) first.
## Step 1: Get and connect an AstraFlow API key
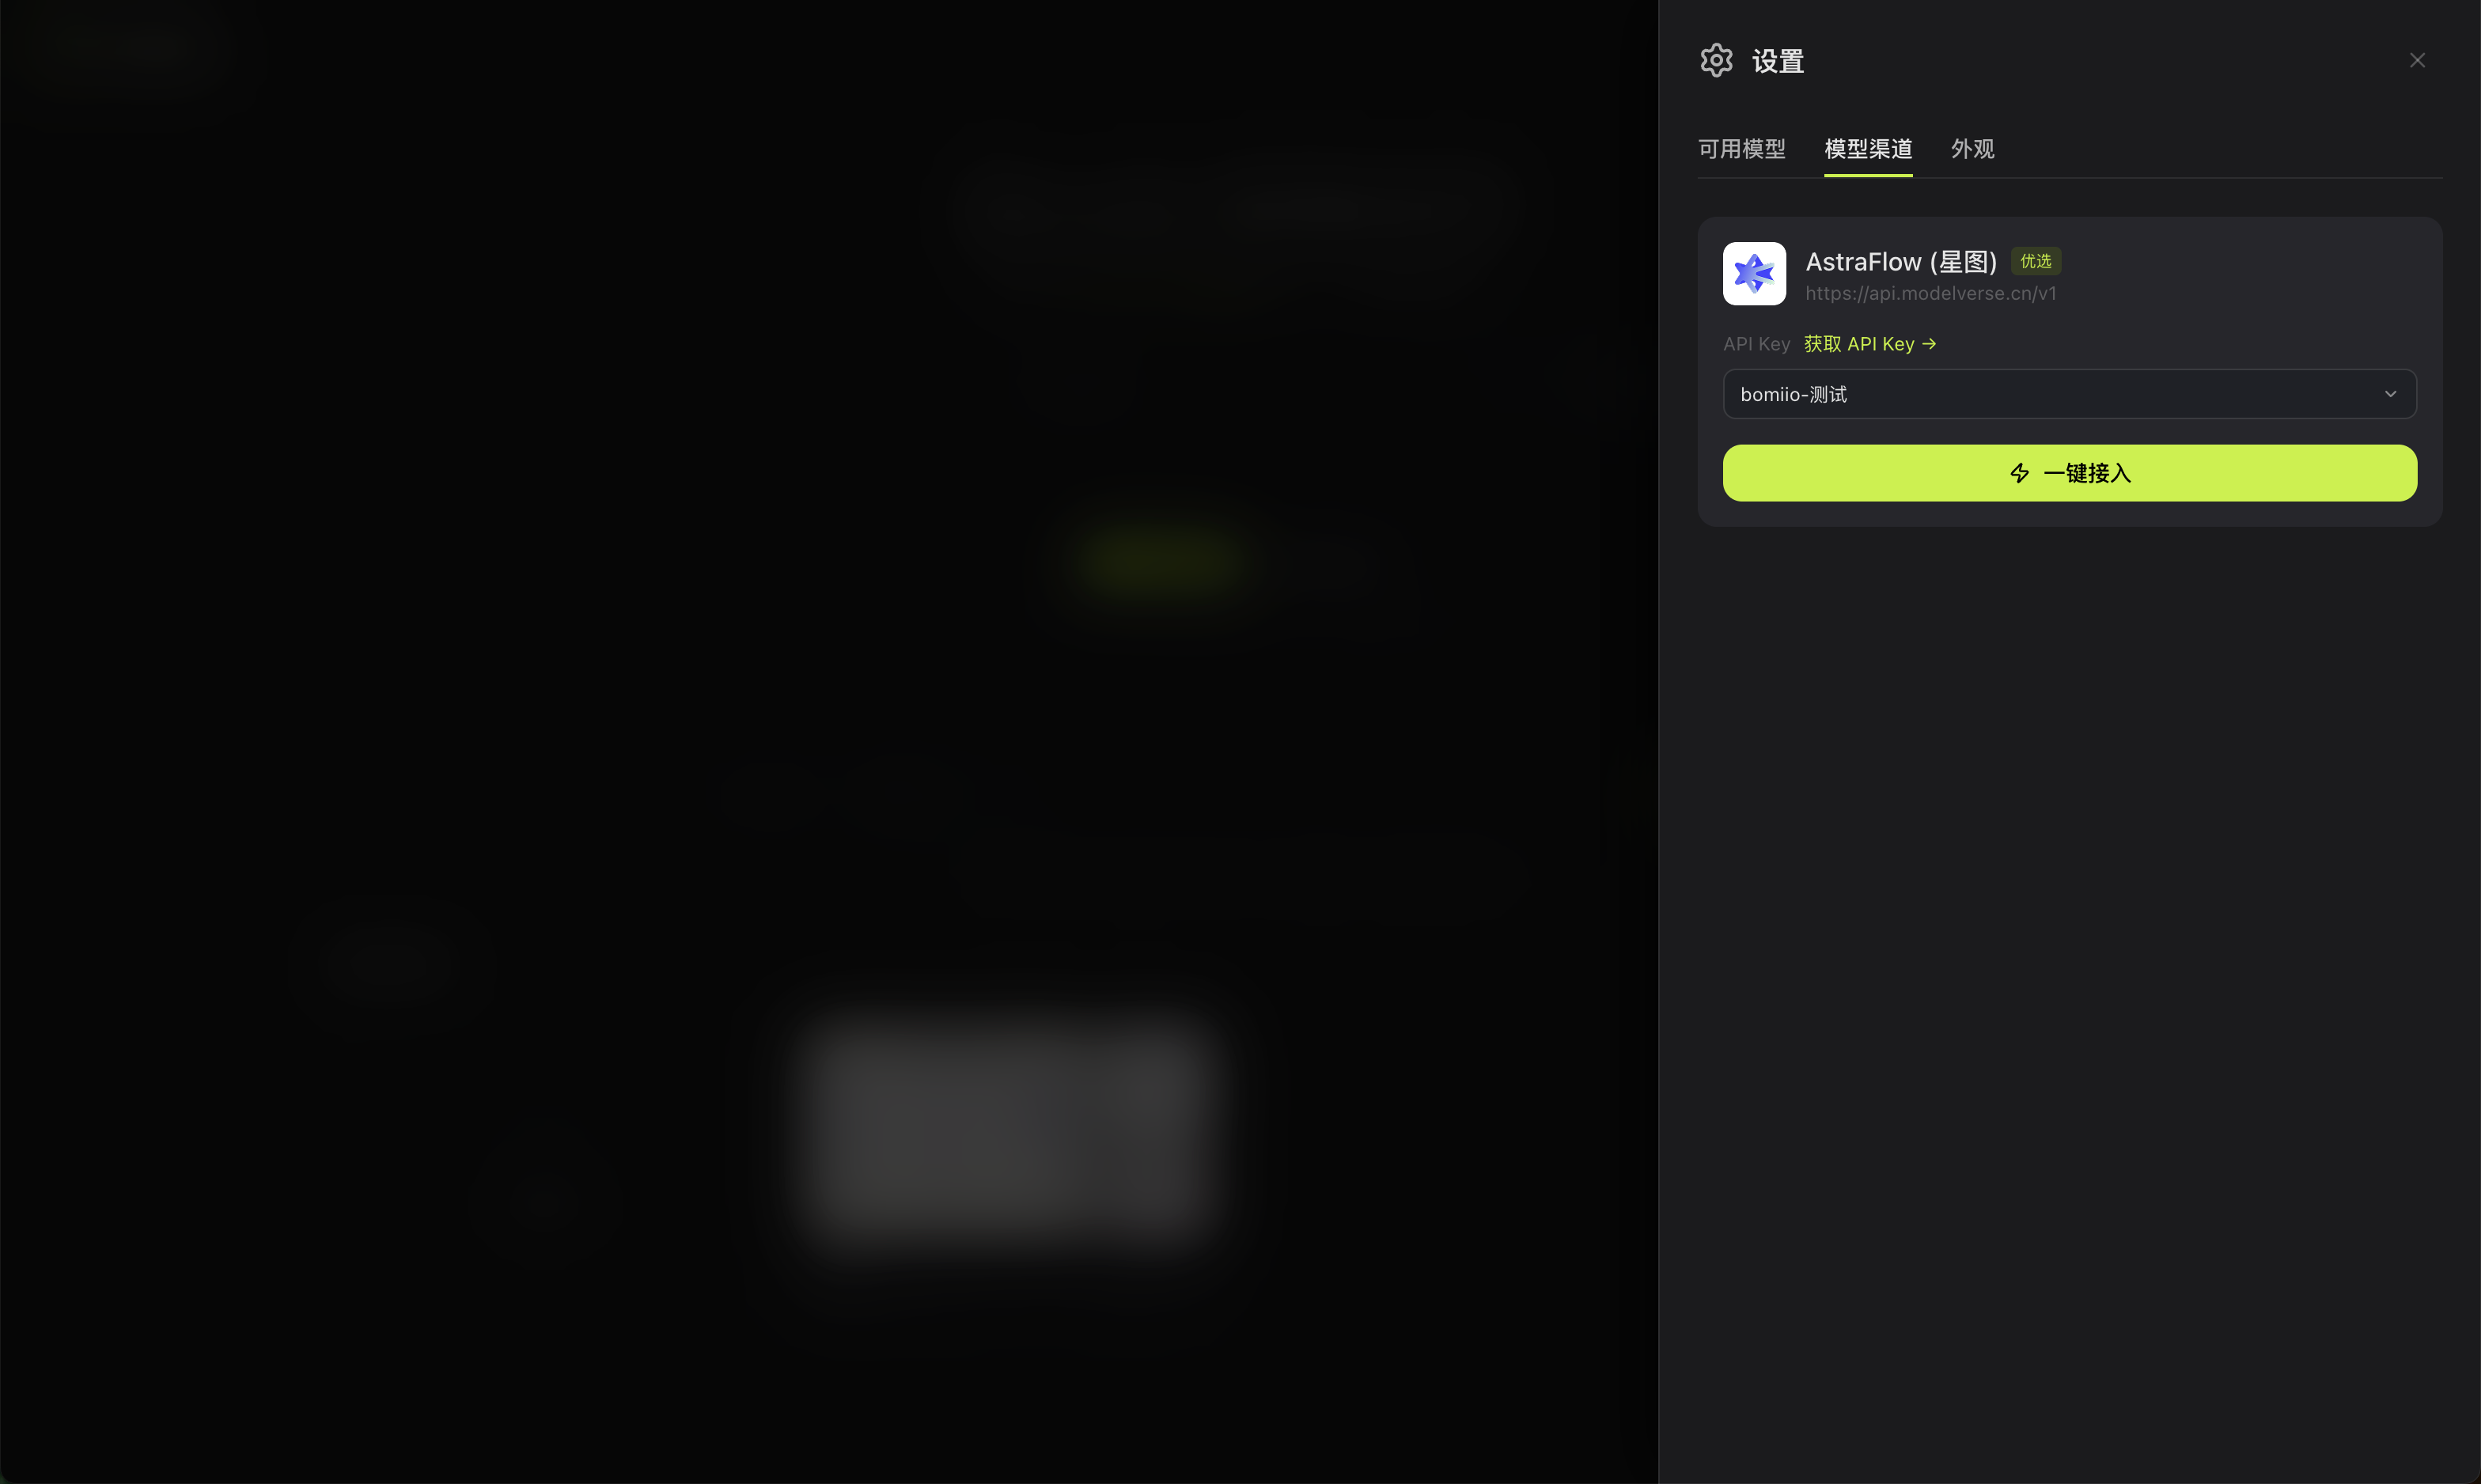
Before you start creating, open "Settings" in the top-right, switch to "Model Channel", and click "Get API Key" on the AstraFlow card. After you get the key, return here, select the matching API key, and click "One-Click Connect".
After setup finishes, make sure available models appear under AstraFlow before you continue importing the script. If no API key is available, or if no models appear after connection, see [Connect AstraFlow](/docs/bomitv/getting-started/astraflow.md).
### Check now
- You have selected a valid AstraFlow API key.
- You have clicked "One-Click Connect".
- The models needed for script, image, and video generation are selectable.
## Step 2: Import the single-episode script
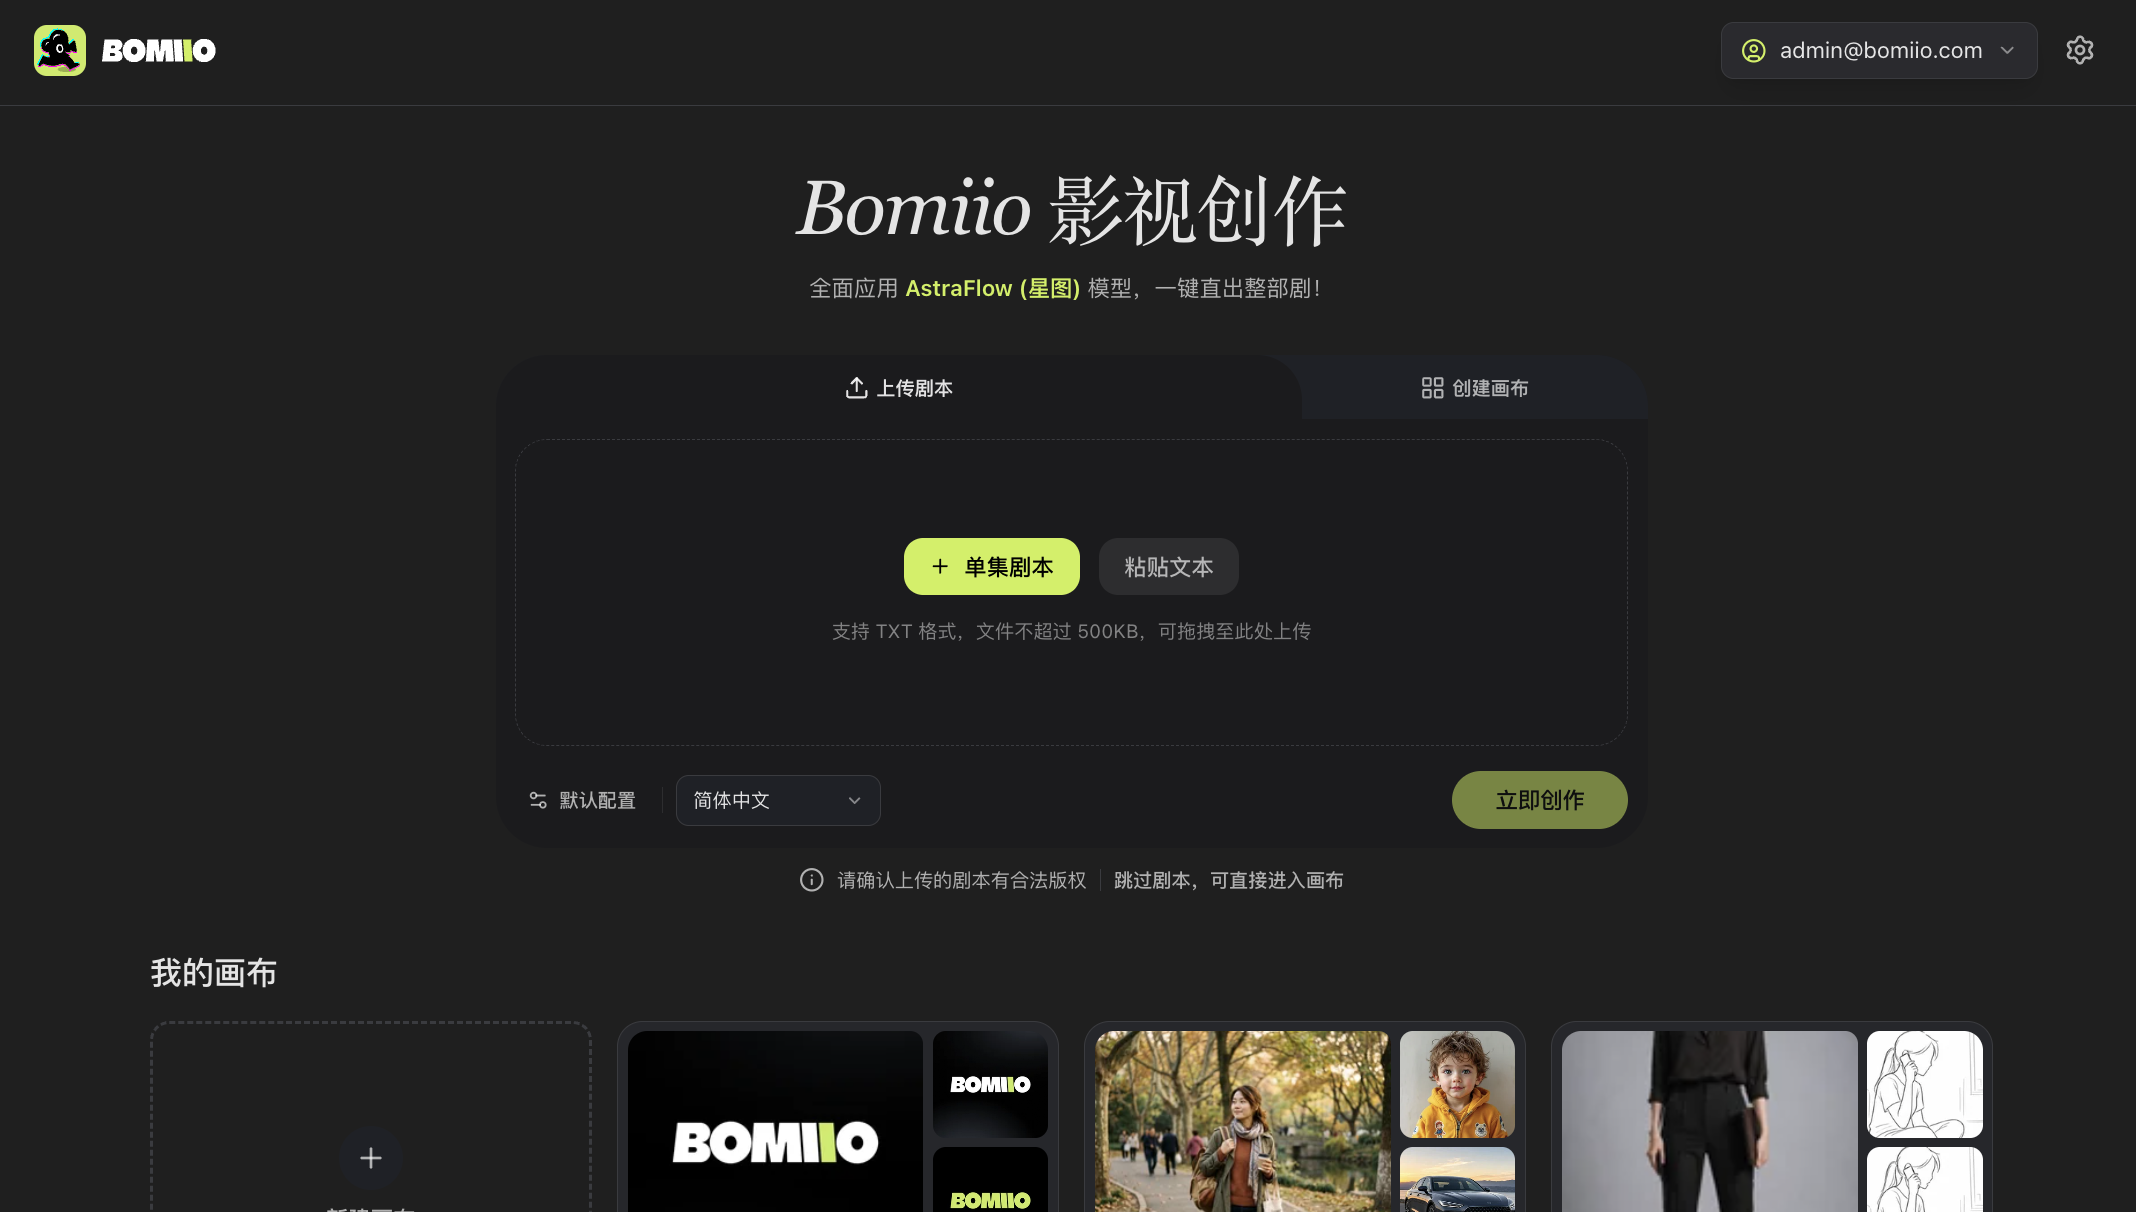
> Once the script is ready, confirm the content language first, then open "Default Settings" to check the Director Console settings.
1. On the home page, click "Single-Episode Script" and choose a `.txt` file, or click "Paste Text".
2. Check the script title and character count.
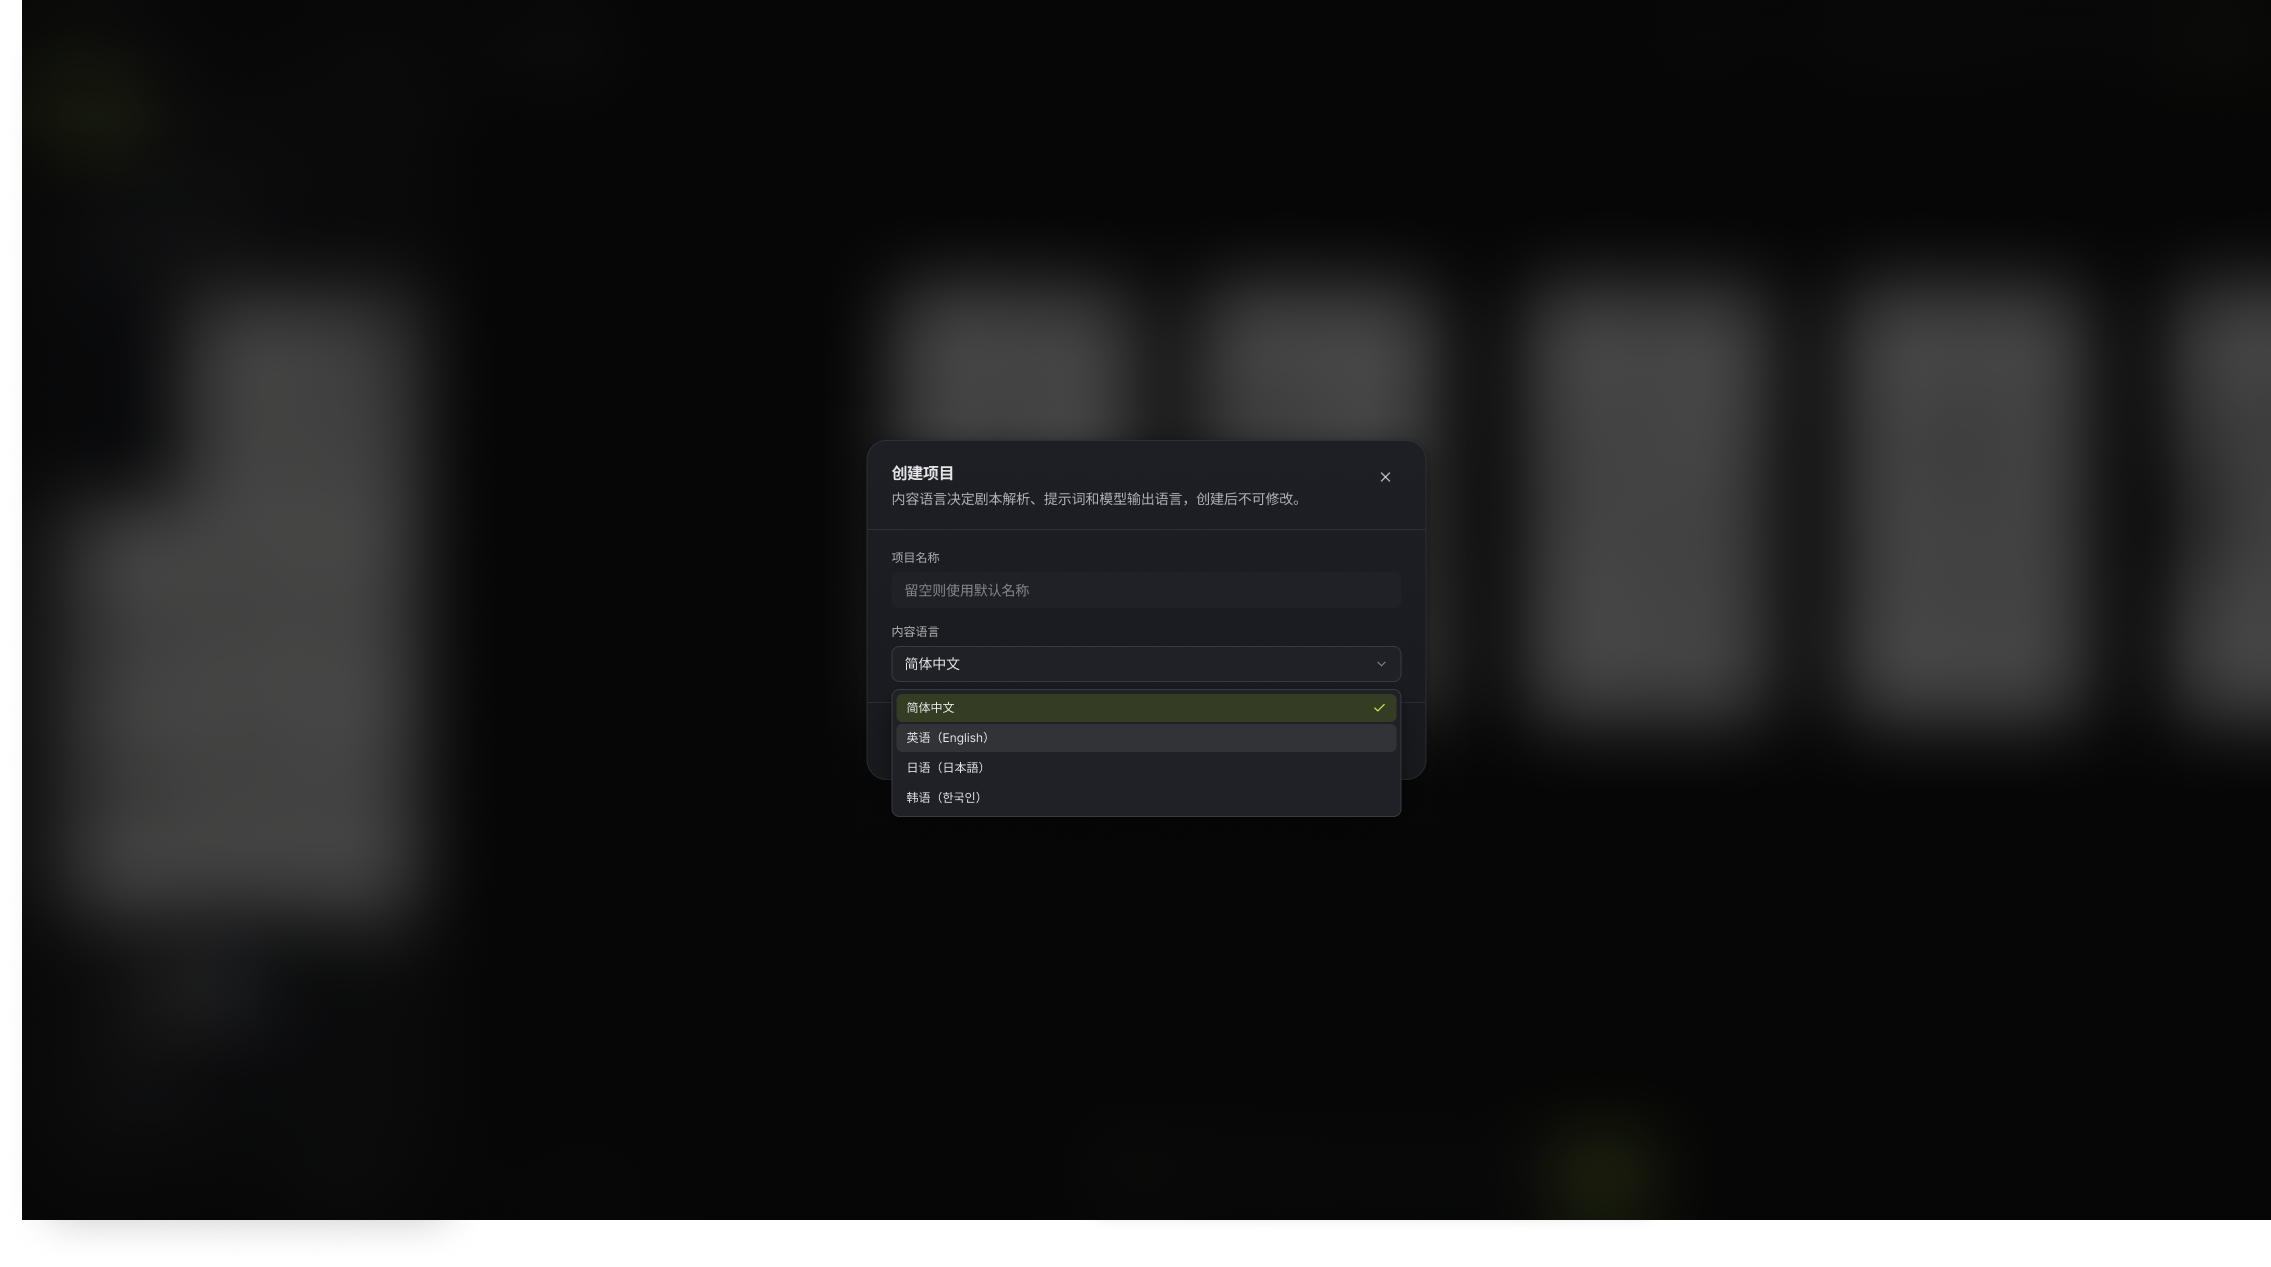
3. Choose a content language. This setting cannot be changed after creation.
4. Click "Default Settings" to open the Director Console settings window.
### Check now
- The file format and size show no errors.
- The content language matches the expected output language for the script.
- The Director Console settings window opened successfully.
## Step 3: Confirm the default Director Console settings
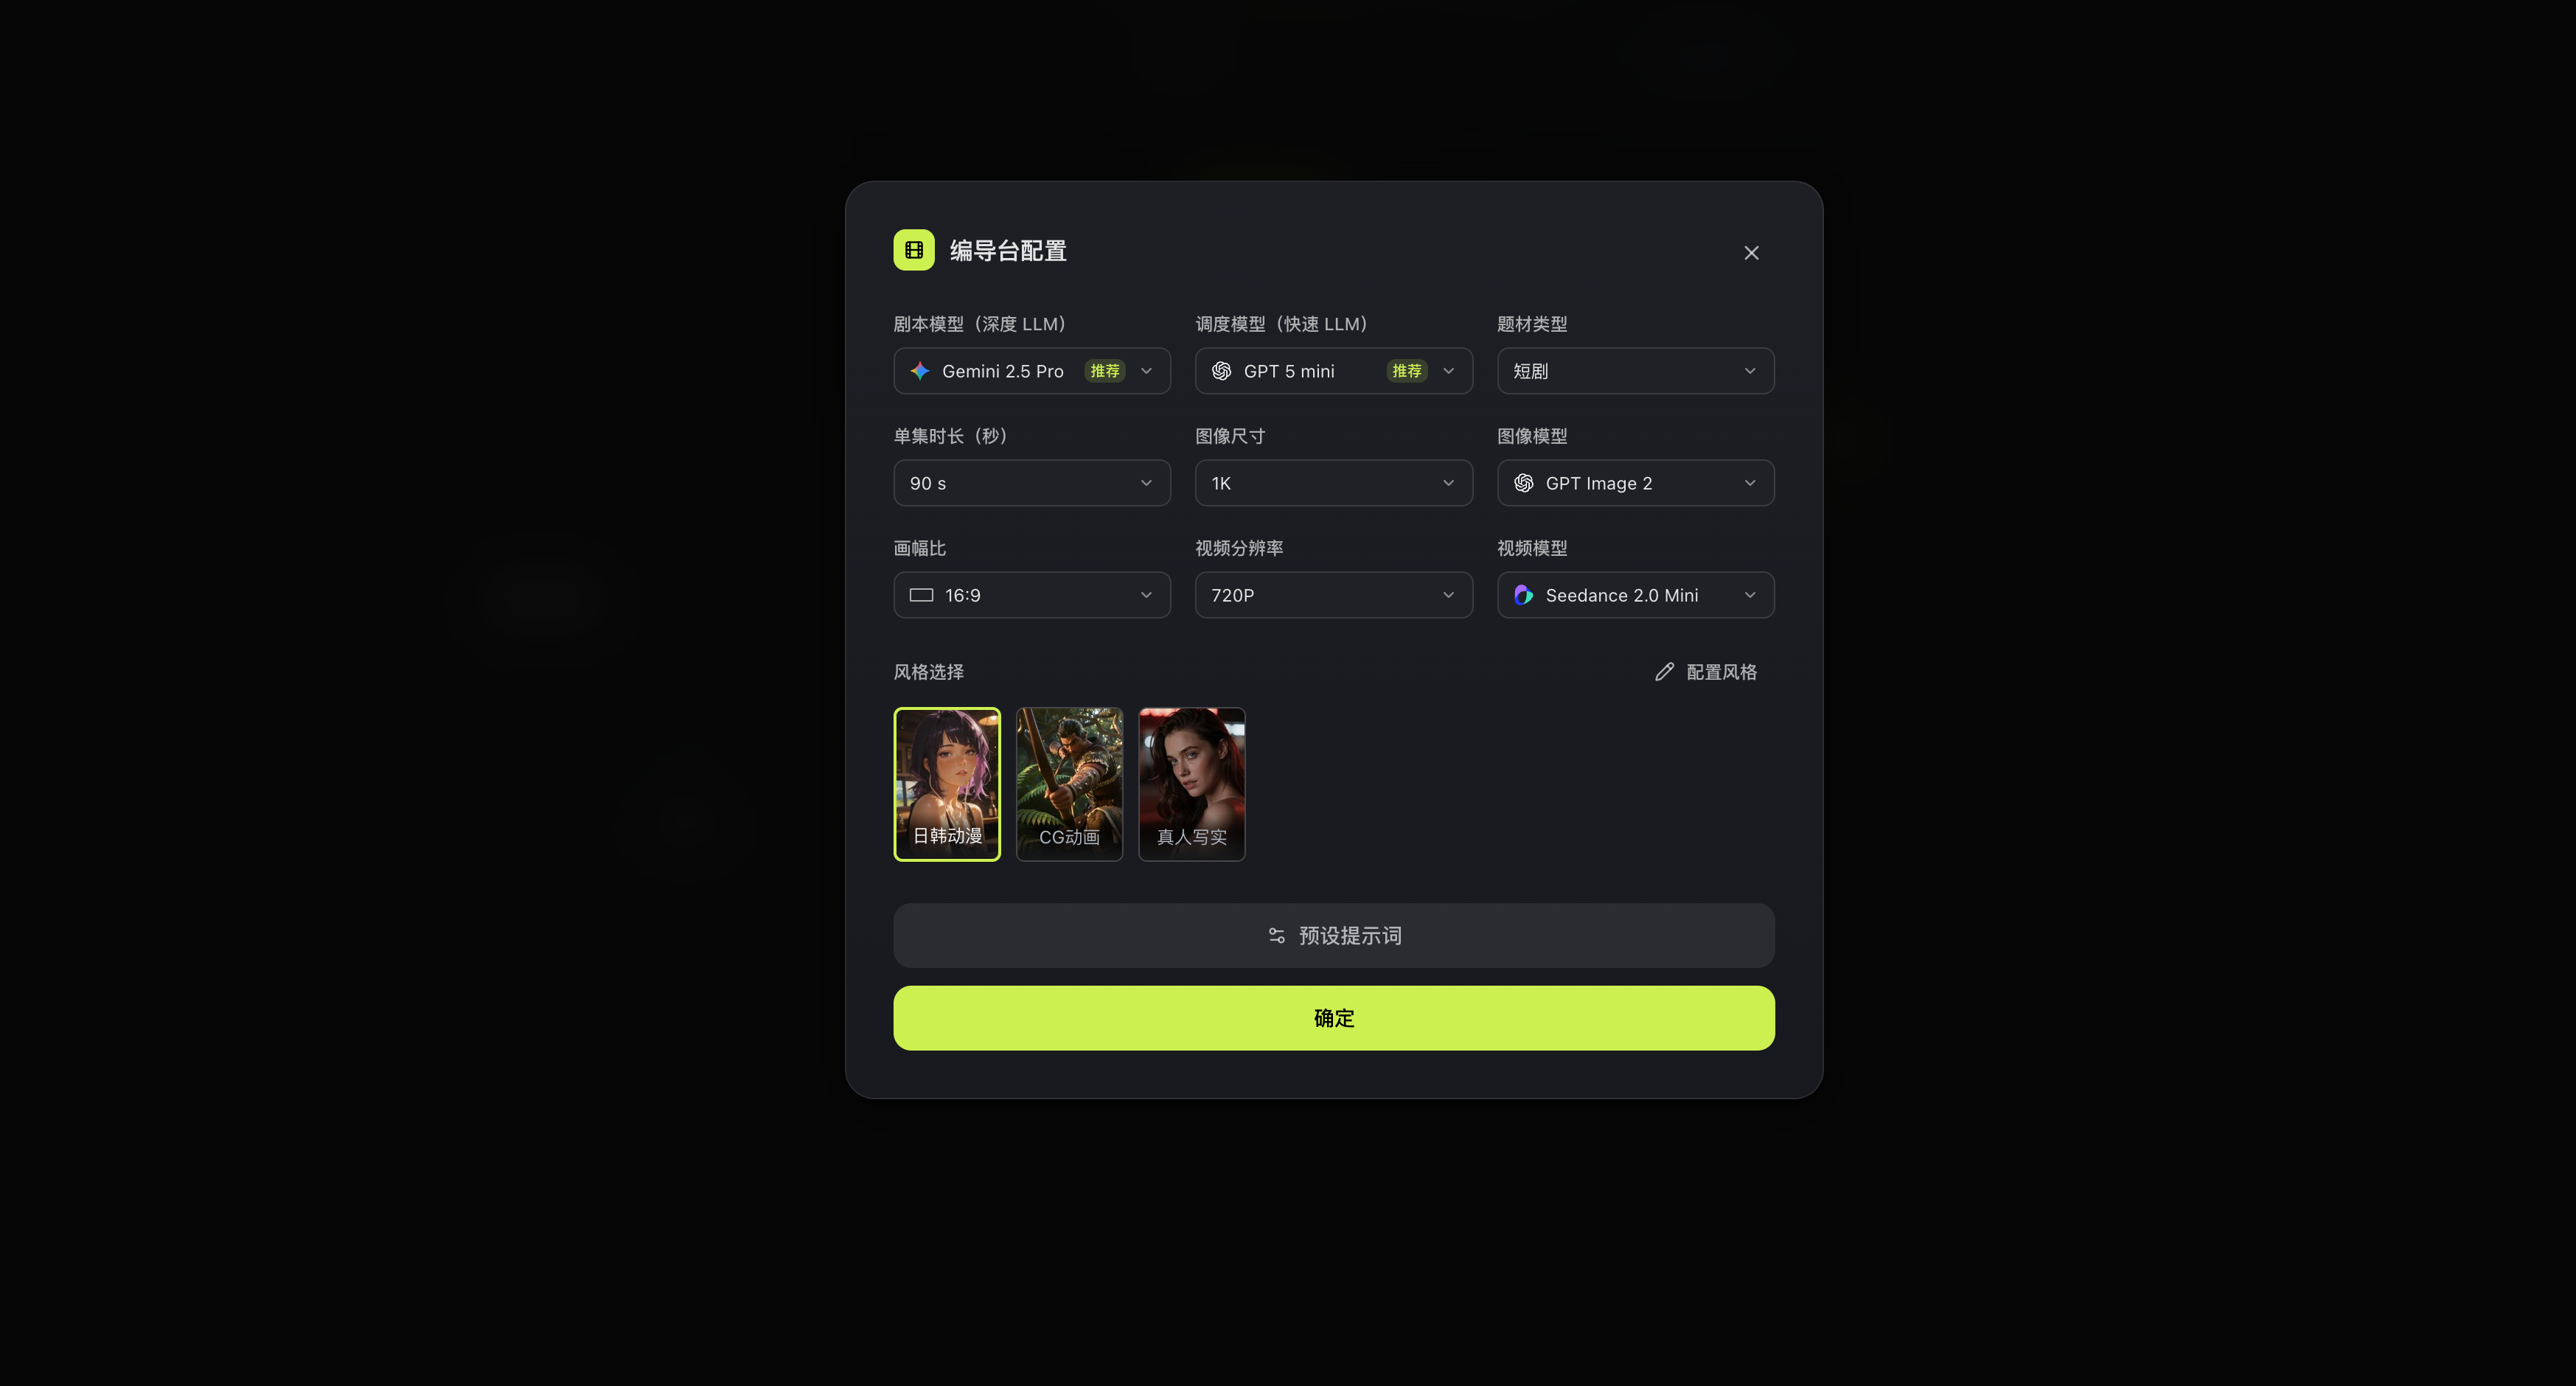
The Director Console settings determine the models and base specifications used for script analysis, asset generation, and video generation. For a first creation, keep the recommended defaults and focus on making sure each item has an available option.
Check the following in order:
1. **Script model (deep LLM)**: used to understand and break down the script. On first use, choose the available model marked "Recommended" in the interface.
2. **Scheduler model (fast LLM)**: used for quick orchestration tasks during creation. Keep the recommended option if possible.
3. **Genre and episode duration**: choose these based on the current script. The duration should roughly match the content scale planned for this episode.
4. **Image size, image model, and aspect ratio**: these together determine the base specifications for characters, scenes, props, and storyboard stills. The aspect ratio should match the final output direction.
5. **Video resolution and video model**: confirm that usable options exist after AstraFlow connects. For a first pass, keep the default resolution.
6. **Style selection**: choose the style closest to the intended final look. If you need finer control later, open "Style Settings" or "Prompt Presets"; you do not need to change them on the first pass.
7. After confirming nothing is missing, click "Confirm" to return to the creation page, then click "Create Now".
> The models and parameters in the screenshot are only there to show where each setting lives. The actual options depend on the current account's AstraFlow connection.
### Check now
- The script model, scheduler model, image model, and video model are all selected and available.
- The genre, episode duration, and aspect ratio match this episode's creation goal.
- You clicked "Confirm" to save the configuration and started creating from the creation page.
If you need to customize styles or prompts further, see [Director Console Settings](/docs/bomitv/director/configuration.md).
## Step 4: Wait for script analysis
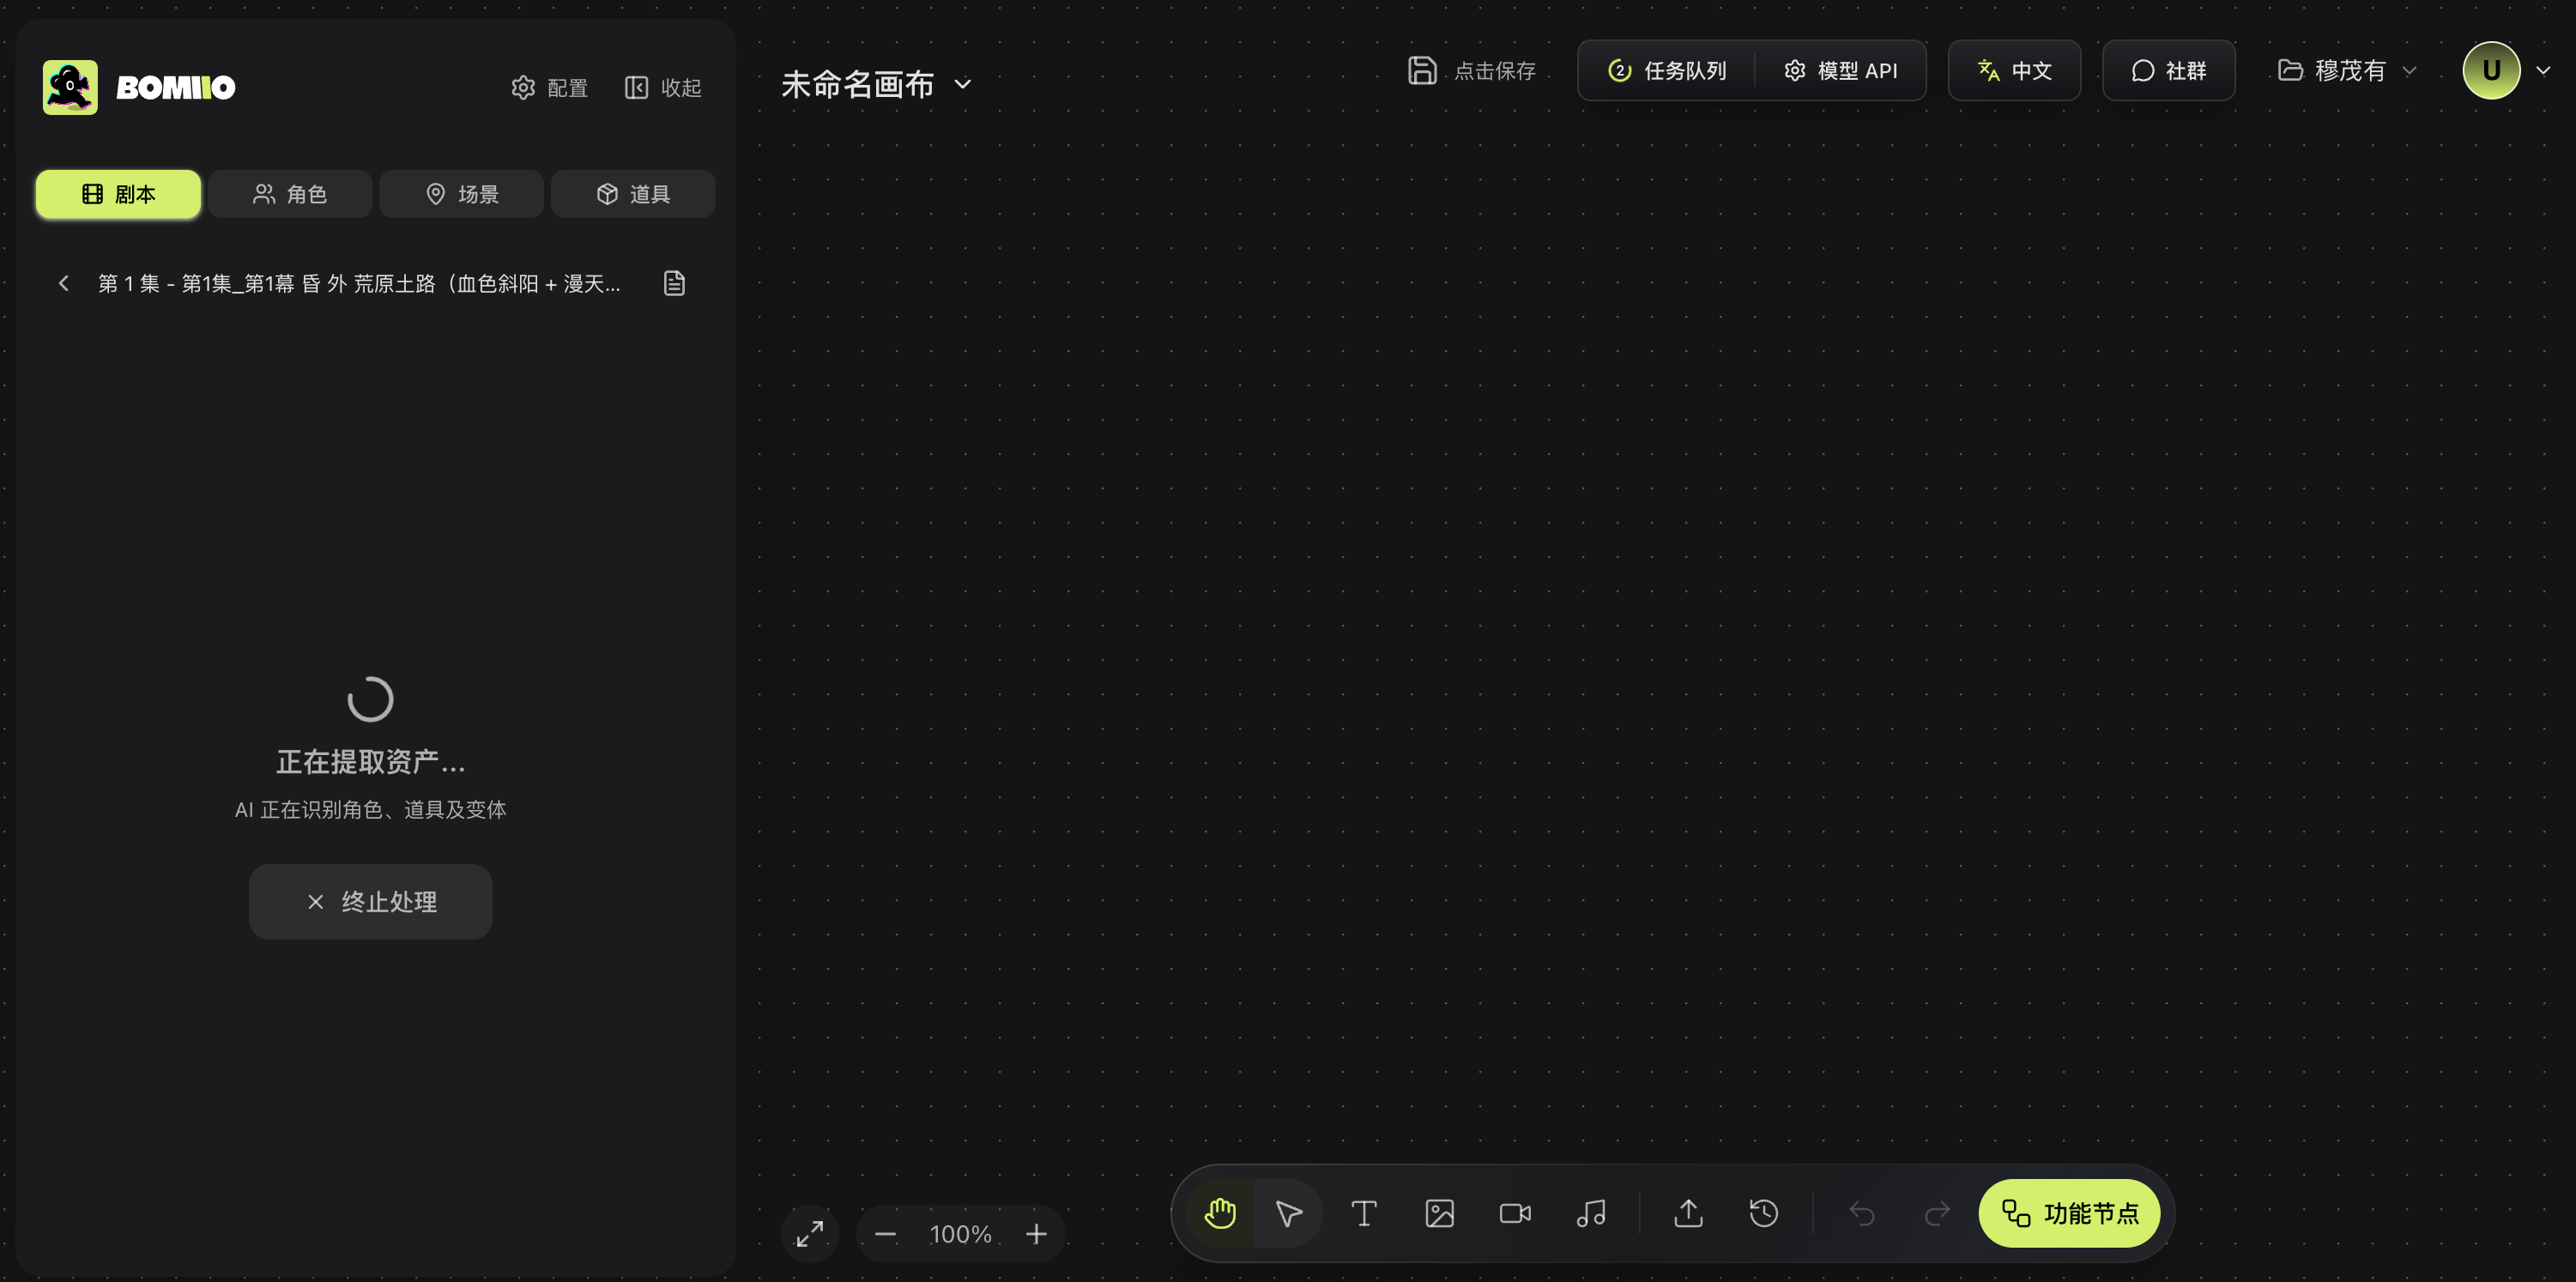
After you enter the canvas, the Director Console shows this episode's processing status. Follow the current step on the page to confirm assets, fill in gaps, or retry failed steps.
During processing, asset editing may temporarily be read-only. This prevents breakdown results from overwriting manual changes. Wait until the current step finishes before editing.
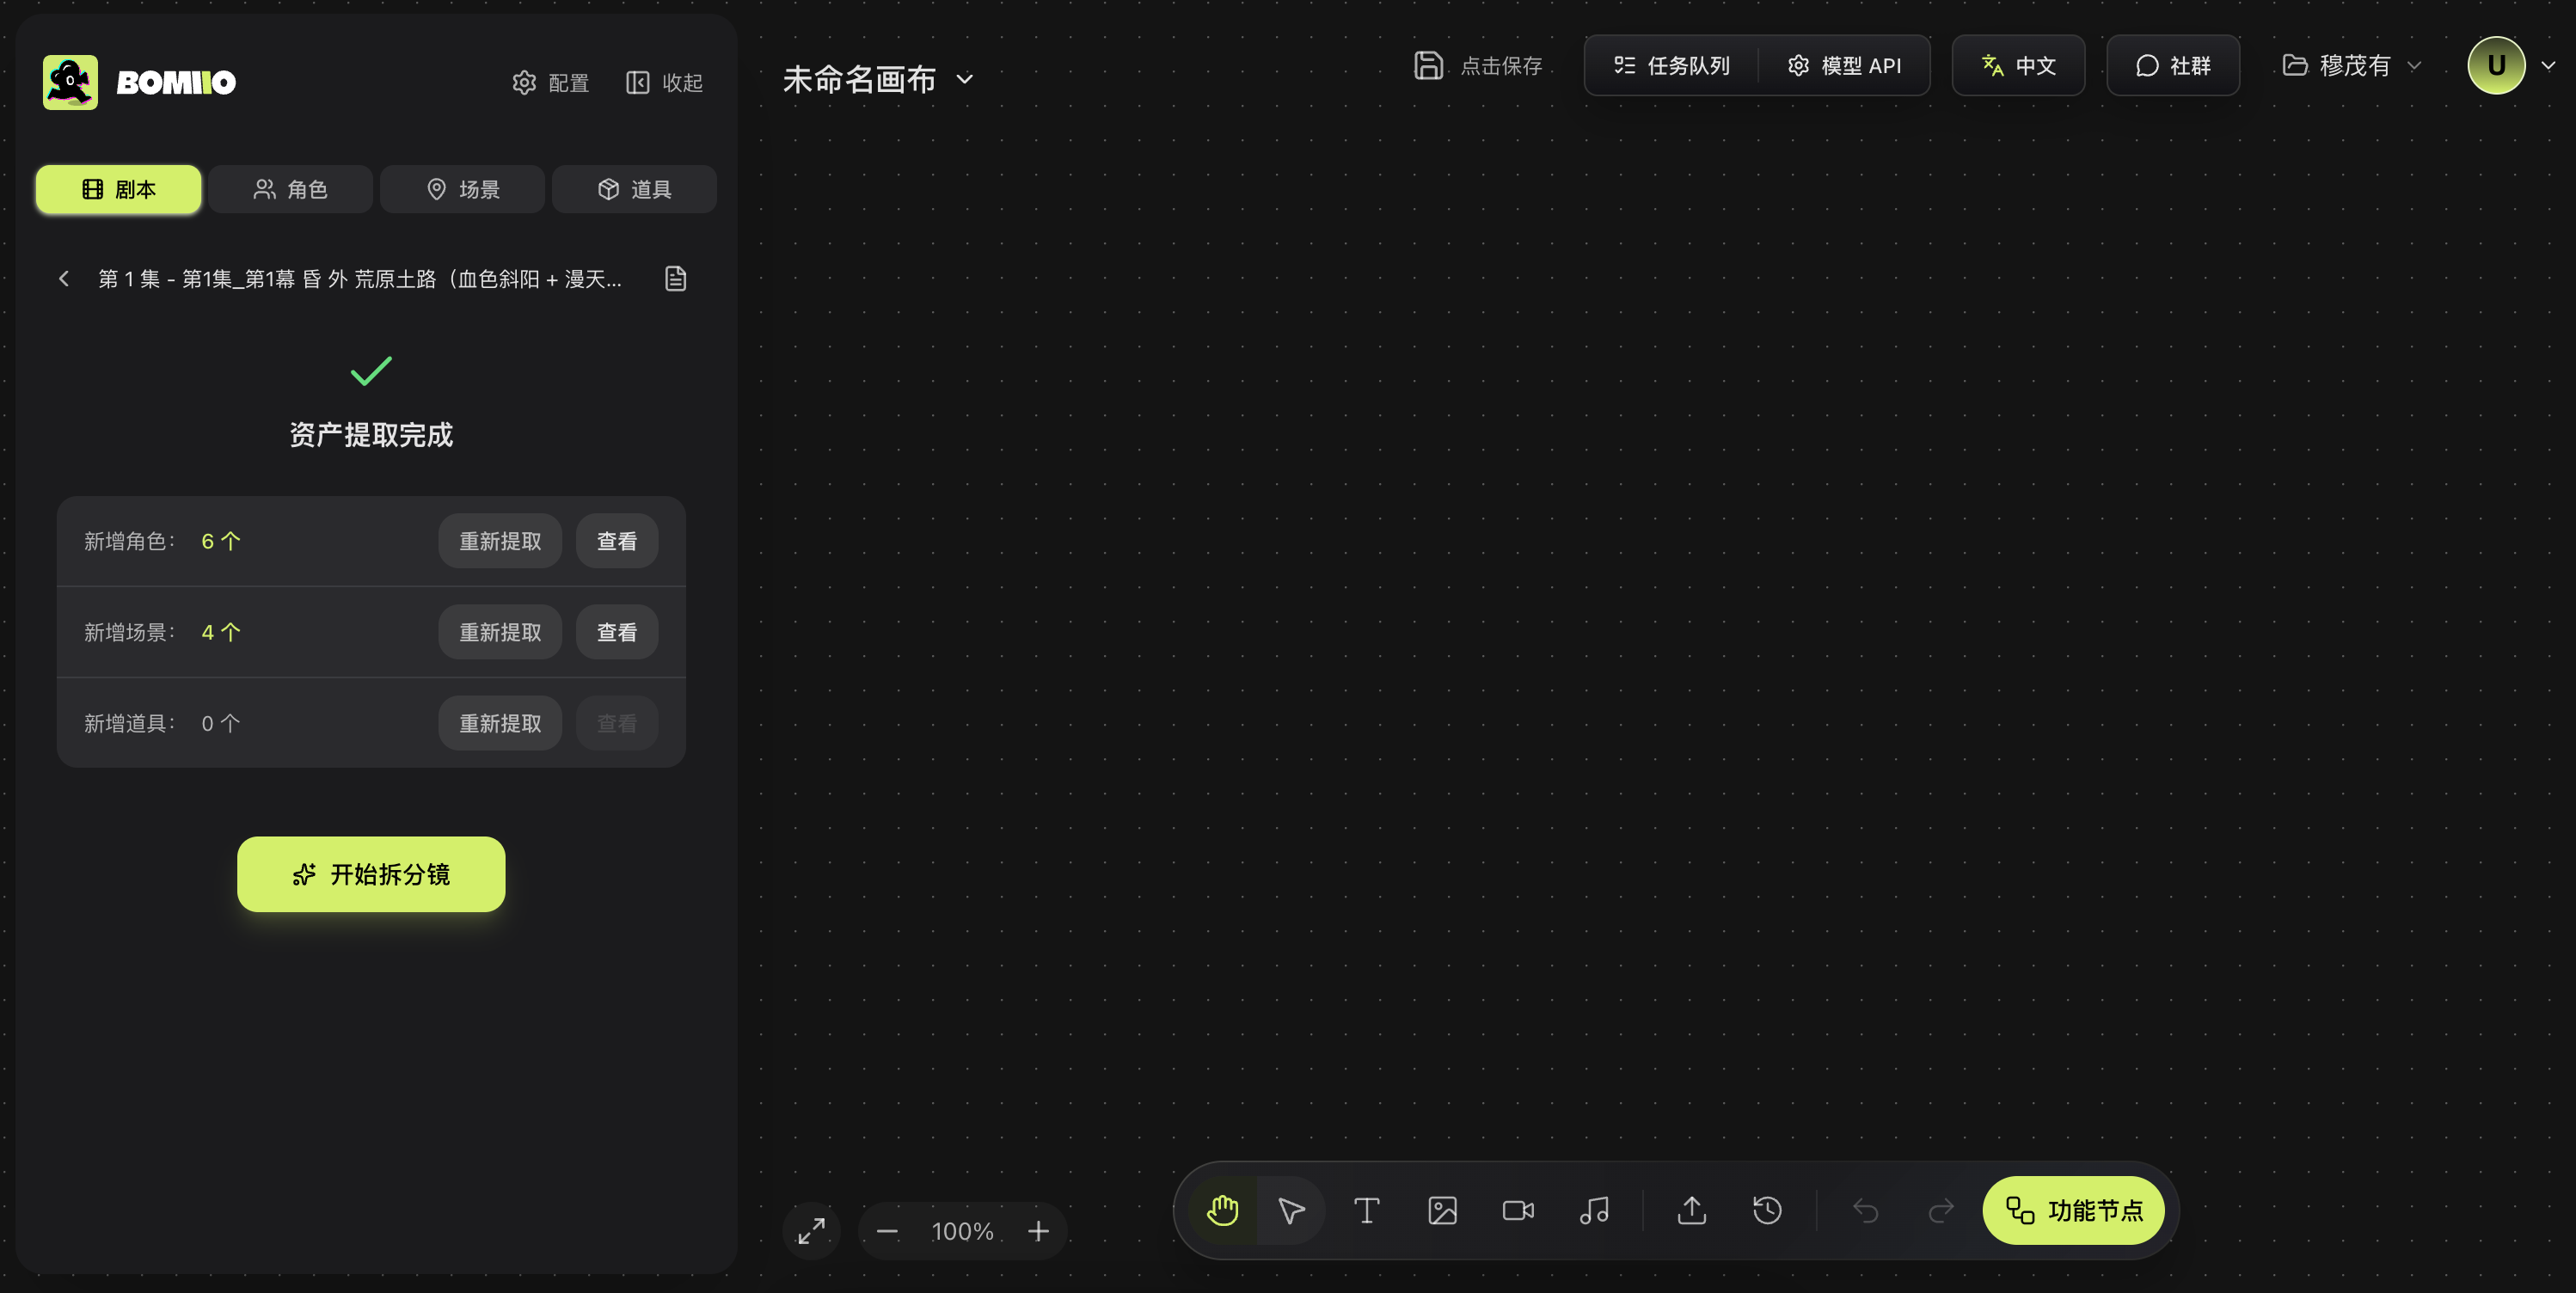
> During asset extraction, Bomiio identifies characters, scenes, props, and their variants in the script. Wait for the current processing step to finish.
> After extraction completes, check the new counts for characters, scenes, and props. Once they look correct, click "Start Shot Breakdown".
### Check now
- The script card is not stuck in a failed state.
- The extracted counts for characters, scenes, and props roughly match the script.
- If one step fails, retry only the step that the page marks as failed.
## Step 5: Confirm characters, scenes, and props
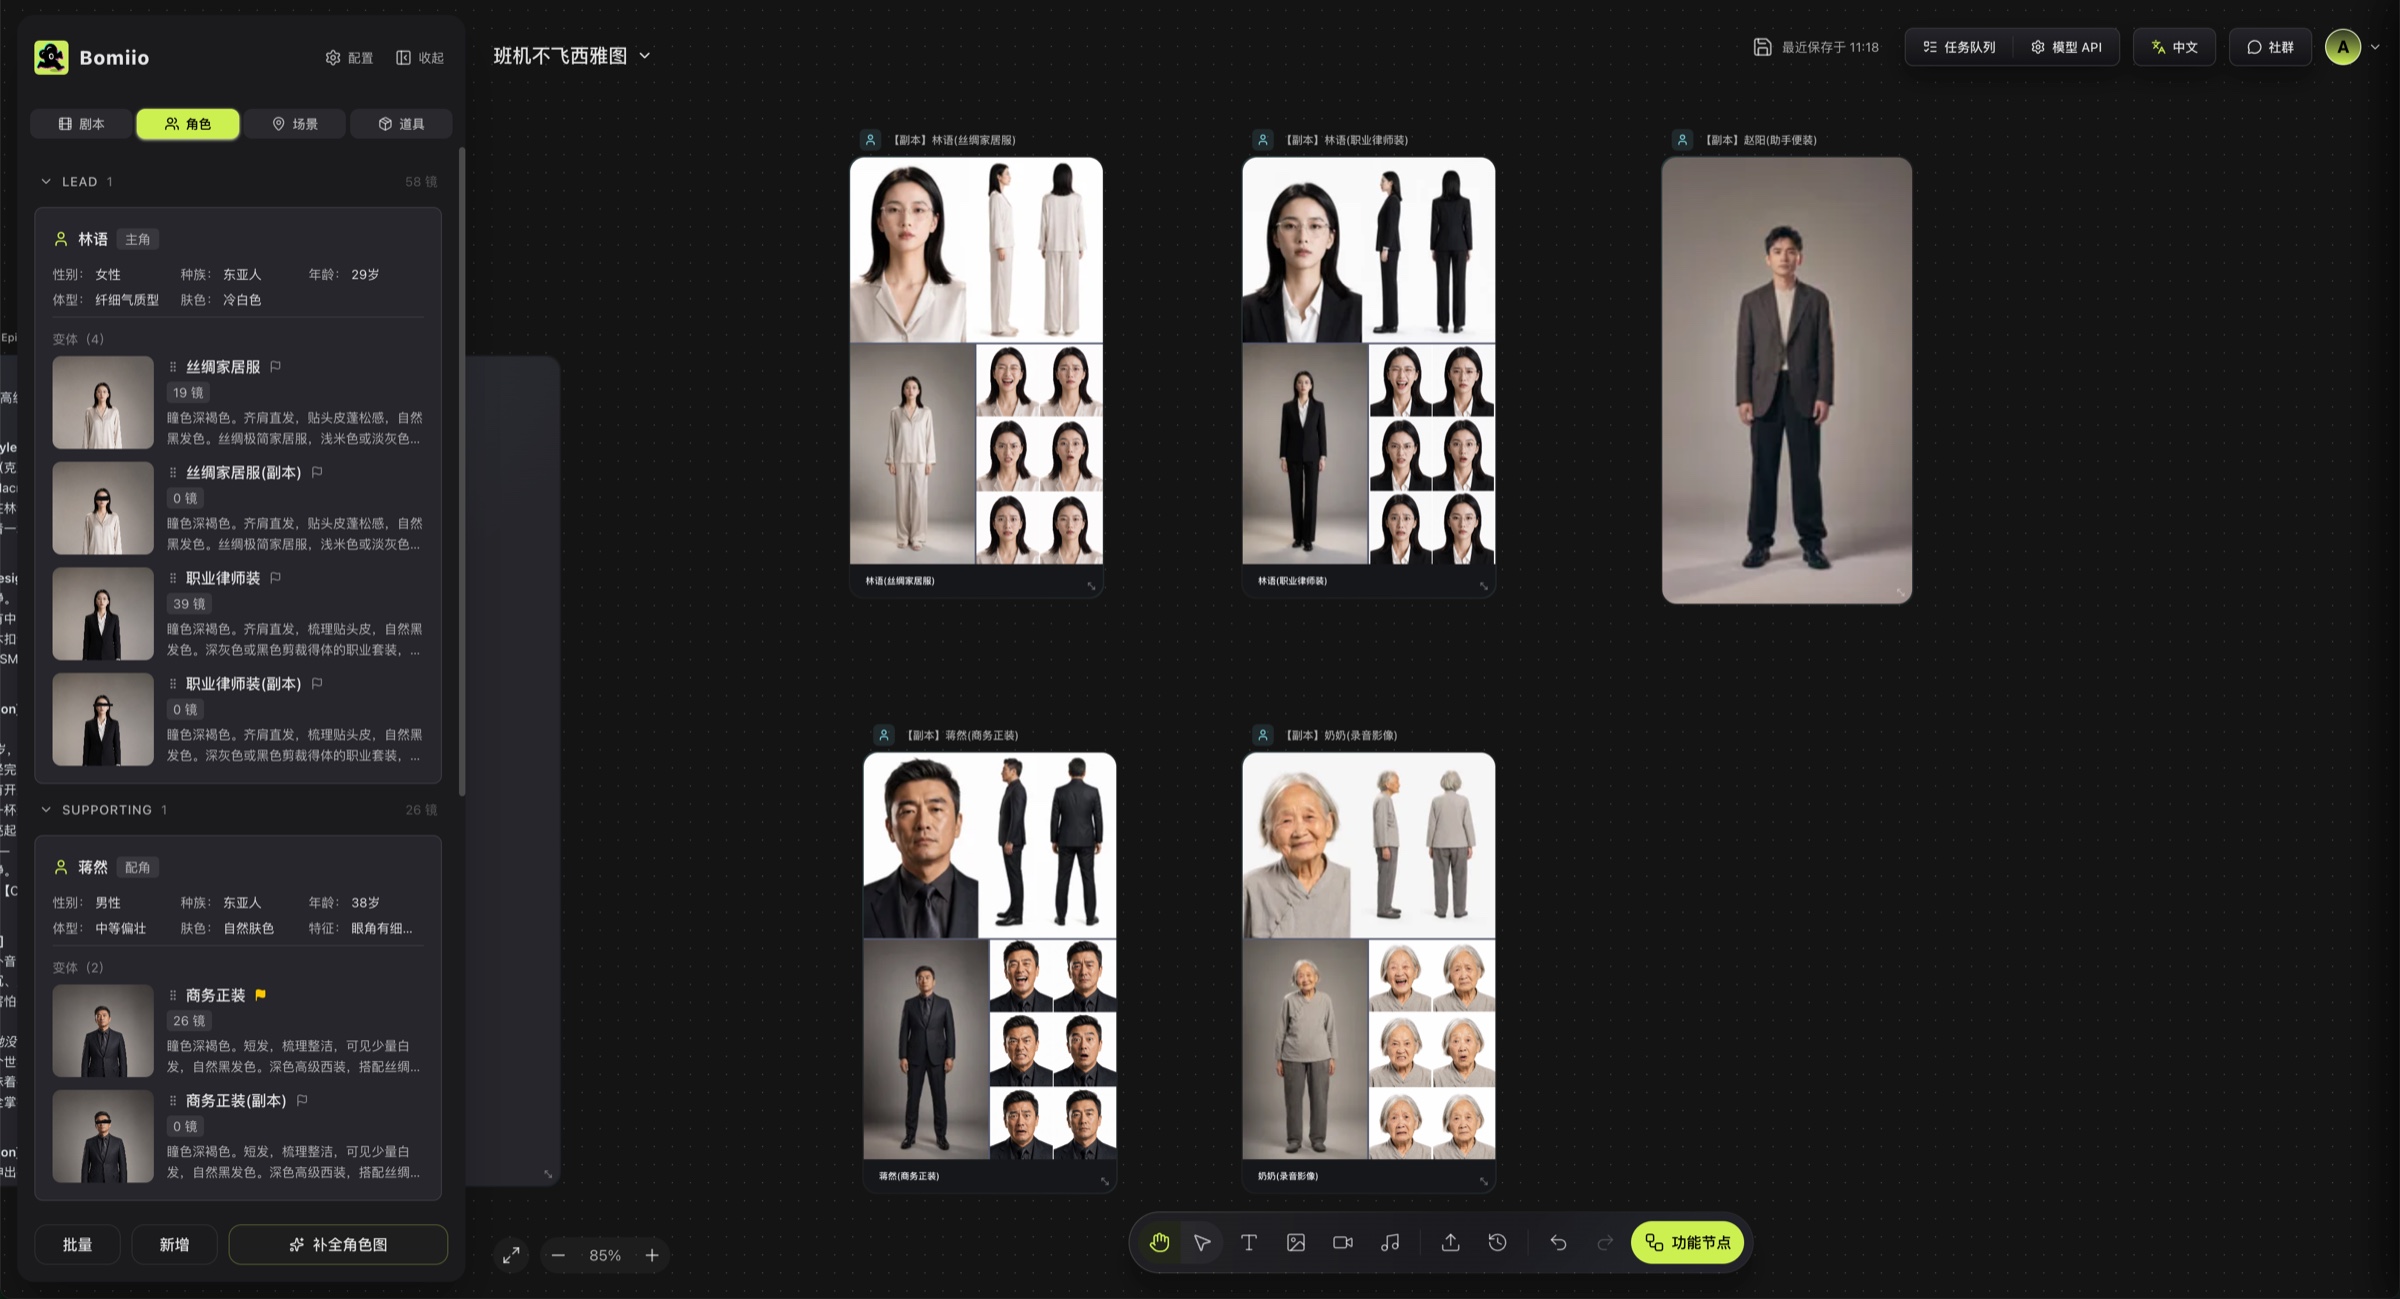
Open the "Characters", "Scenes", and "Props" tabs and check:
- Whether the names and base descriptions match the script.
- Whether variants such as character outfits, scene time/weather, and prop states are reasonable.
- Whether assets referenced by shots already have a main image.
If a description is clearly wrong, open the asset editor and fix it before generating the main image and multi-view outputs. Do not batch-generate from incorrect descriptions.
### Recommended approach
Start by checking the main character, the primary scenes, and frequently used props. You can add secondary assets later when the storyboard needs them to reduce unnecessary generation.
## Step 6: Complete the assets
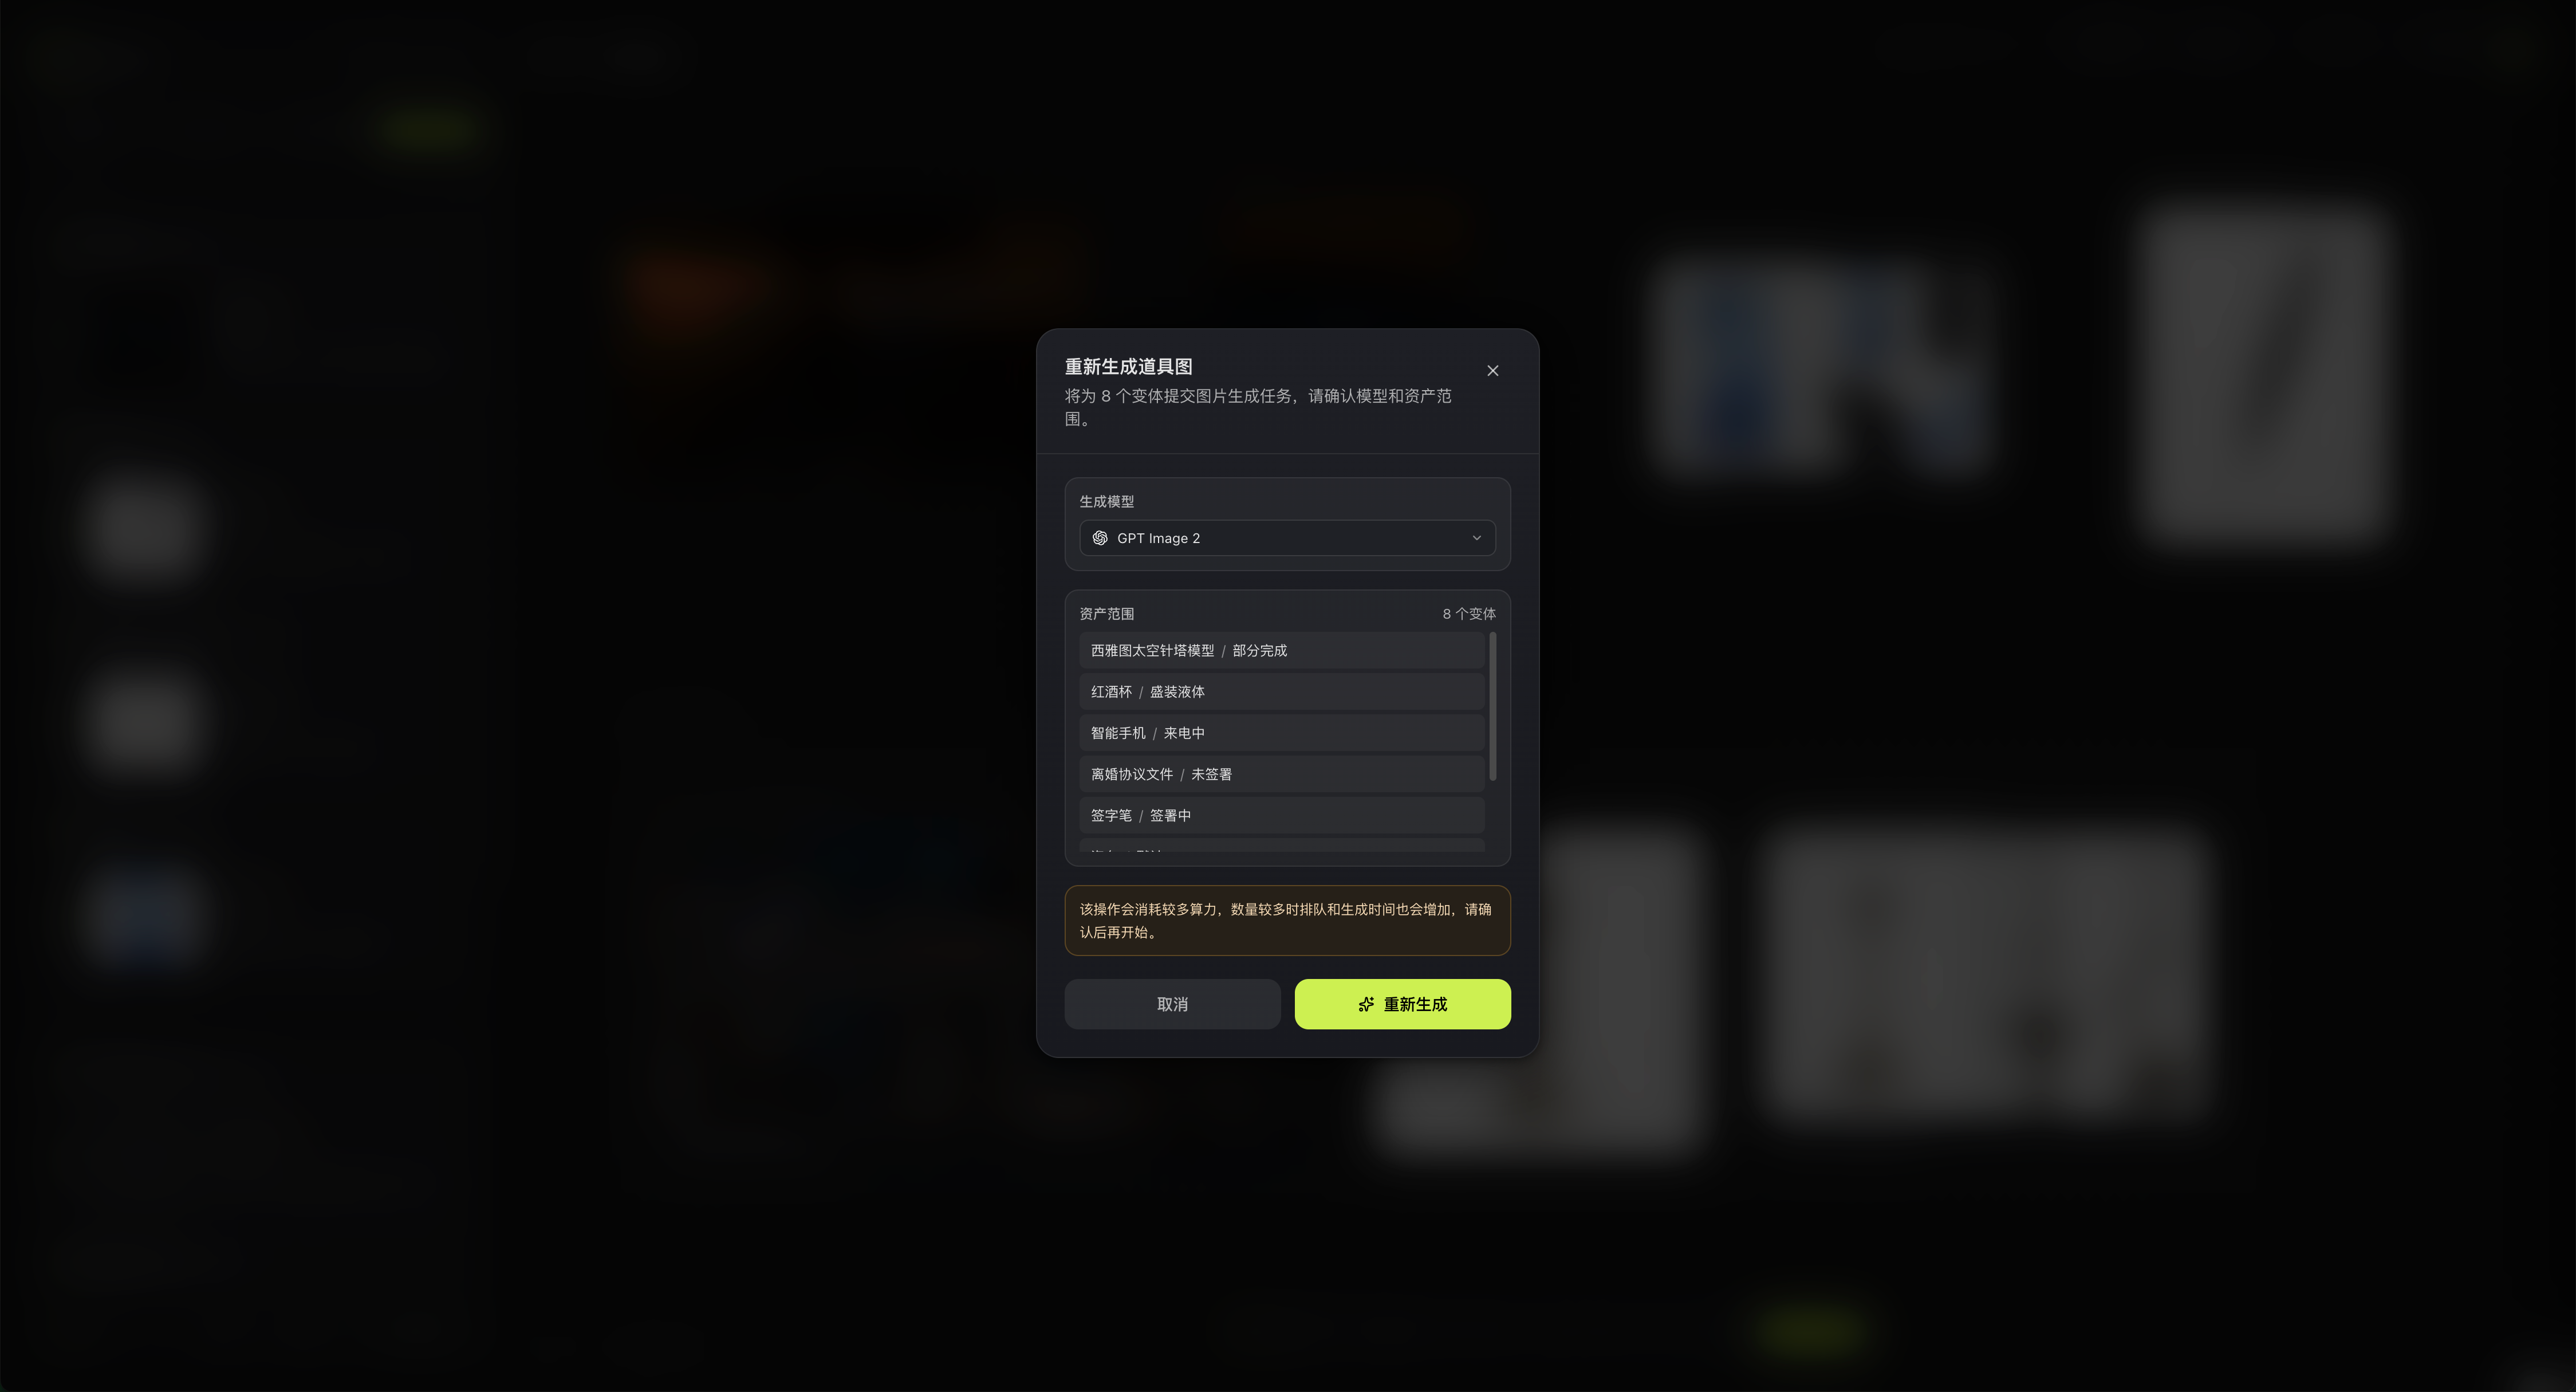
After confirming the assets, use "Assets" to fill in missing main images for variants. Before batch generation starts, the confirmation dialog lists the assets to be processed and notes that generation will consume API quota.
### Check now
- All assets referenced by the storyboards have main images.
- The identifying features of the main characters stay stable across variants.
- The viewpoints, materials, or states of the scenes and props fit the story.
If you need finer adjustments, use [Asset Refinement in Infinite Canvas](/docs/bomitv/canvas/asset-workflow.md).
## Step 7: Organize the shots and review the storyboard
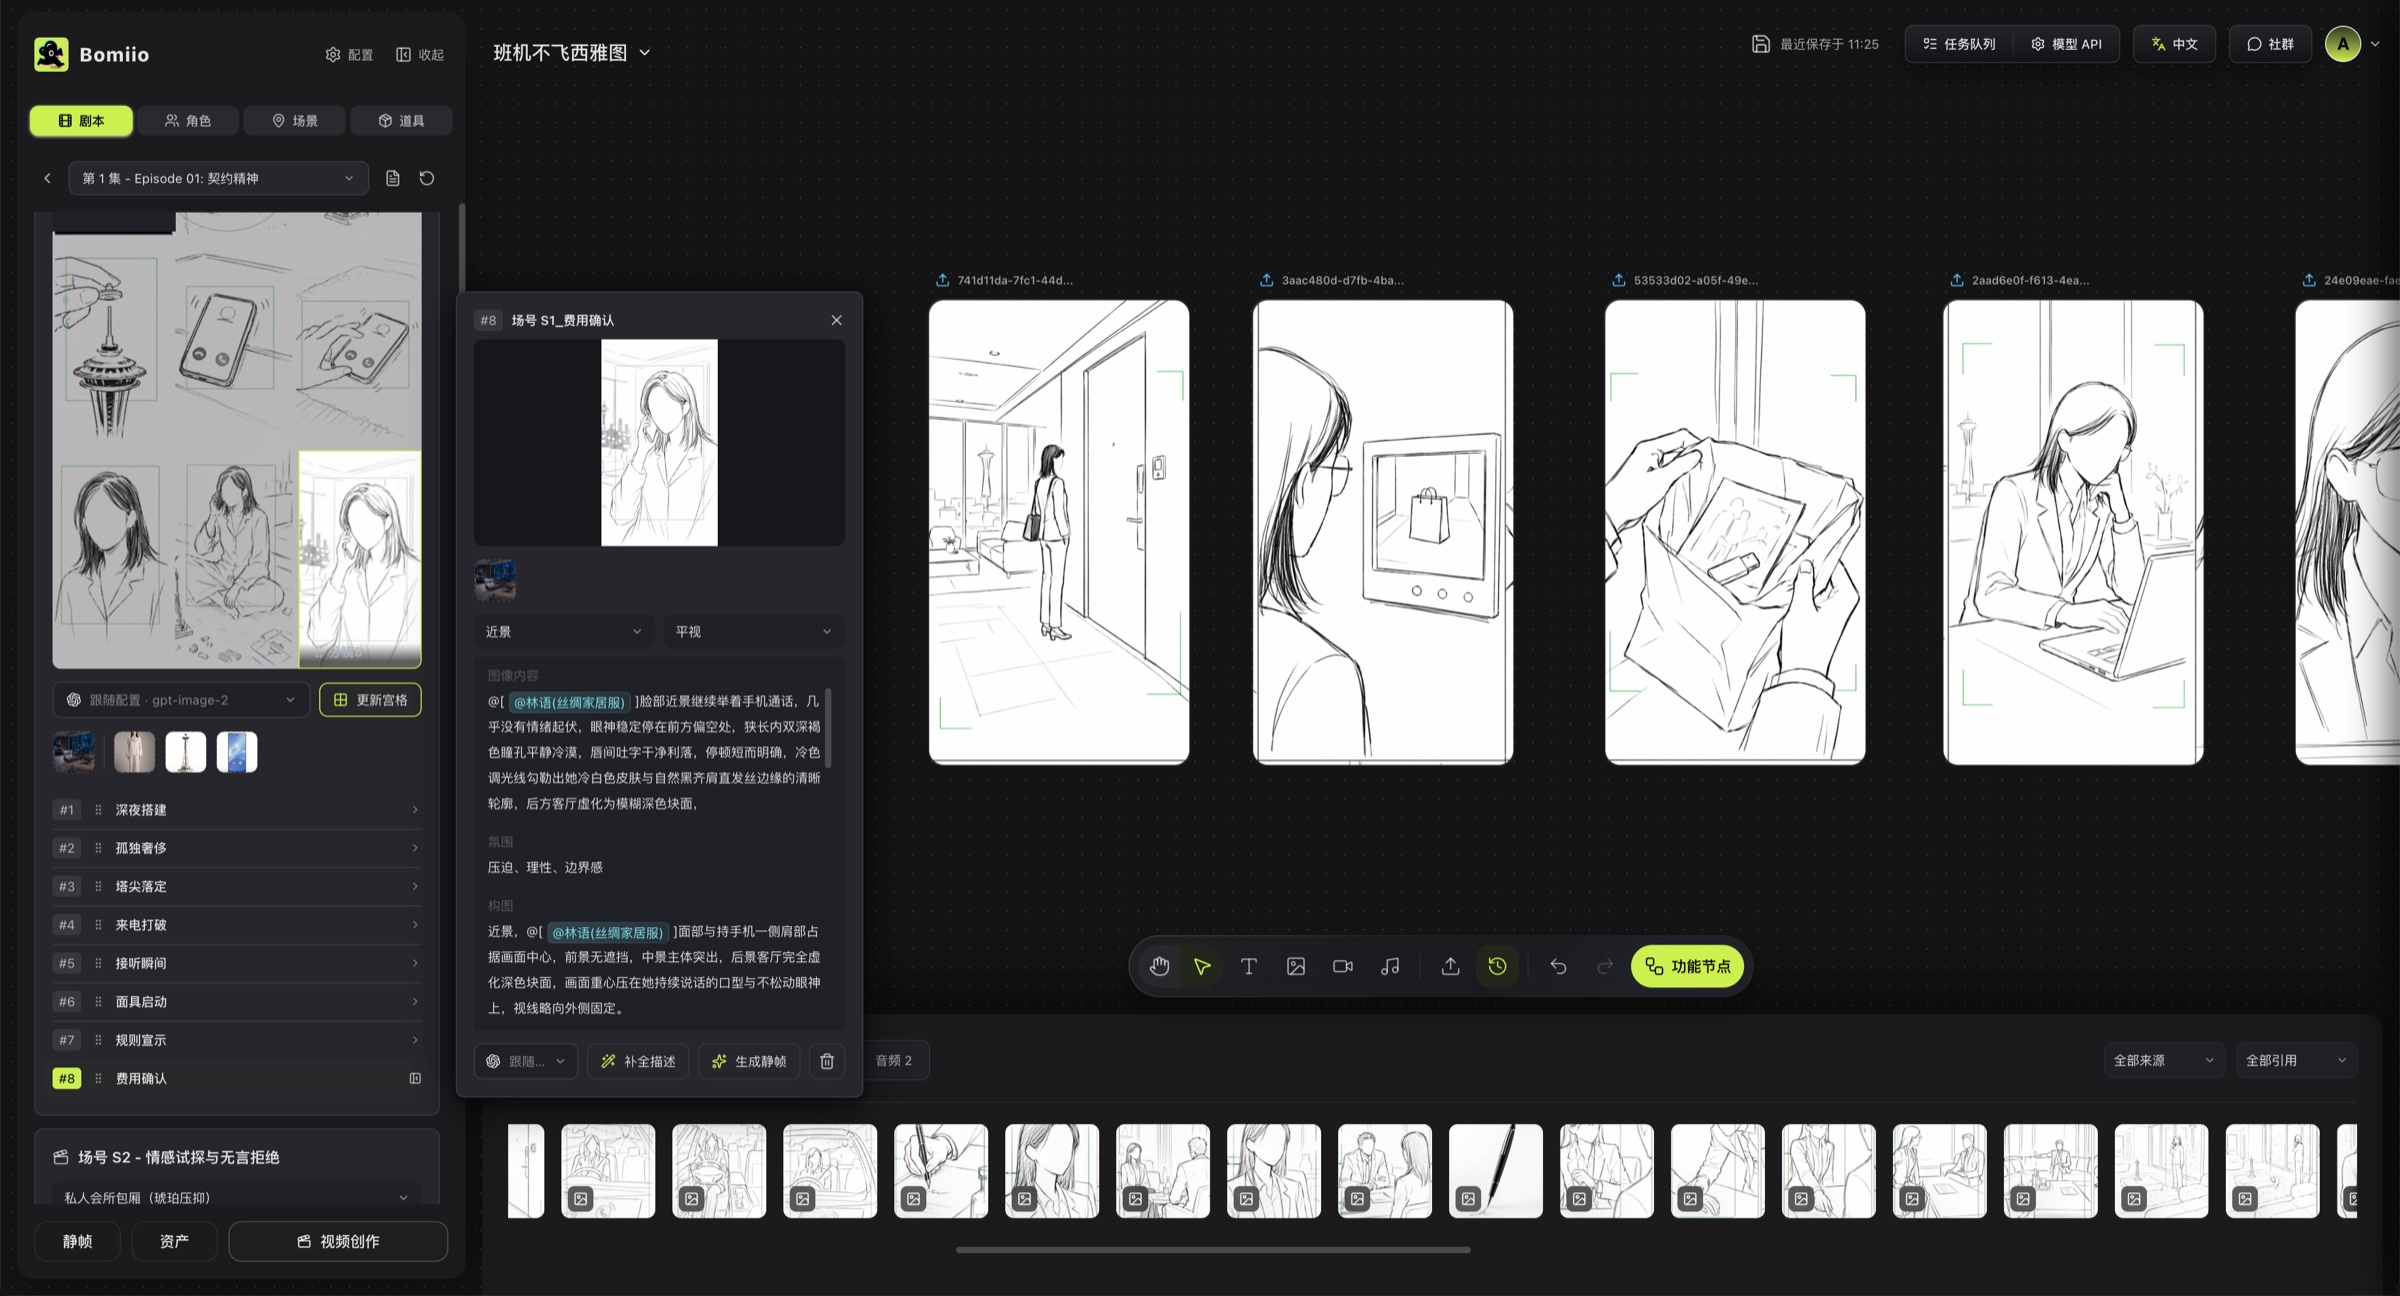
After the assets are ready, continue breaking down the script and filling in the shots. Open shot details and review the scene group, shot order, visual description, and asset references.
Start with a representative scene that includes the main character and the main setting. Generate a still frame to check the overall direction. After you confirm the character look, scene, and composition, batch-generate the still frames for the remaining scenes that need them.
### Check now
- There are no obvious missing shots or duplicate shots.
- The shot order matches the story.
- The character, scene, and prop references are correct.
- The visual direction of the key still frames matches your expectation.
If the direction is off, first adjust the assets, style, or shot description, then regenerate the affected content. Do not generate the full episode video directly.
## Step 8: Handle task failures
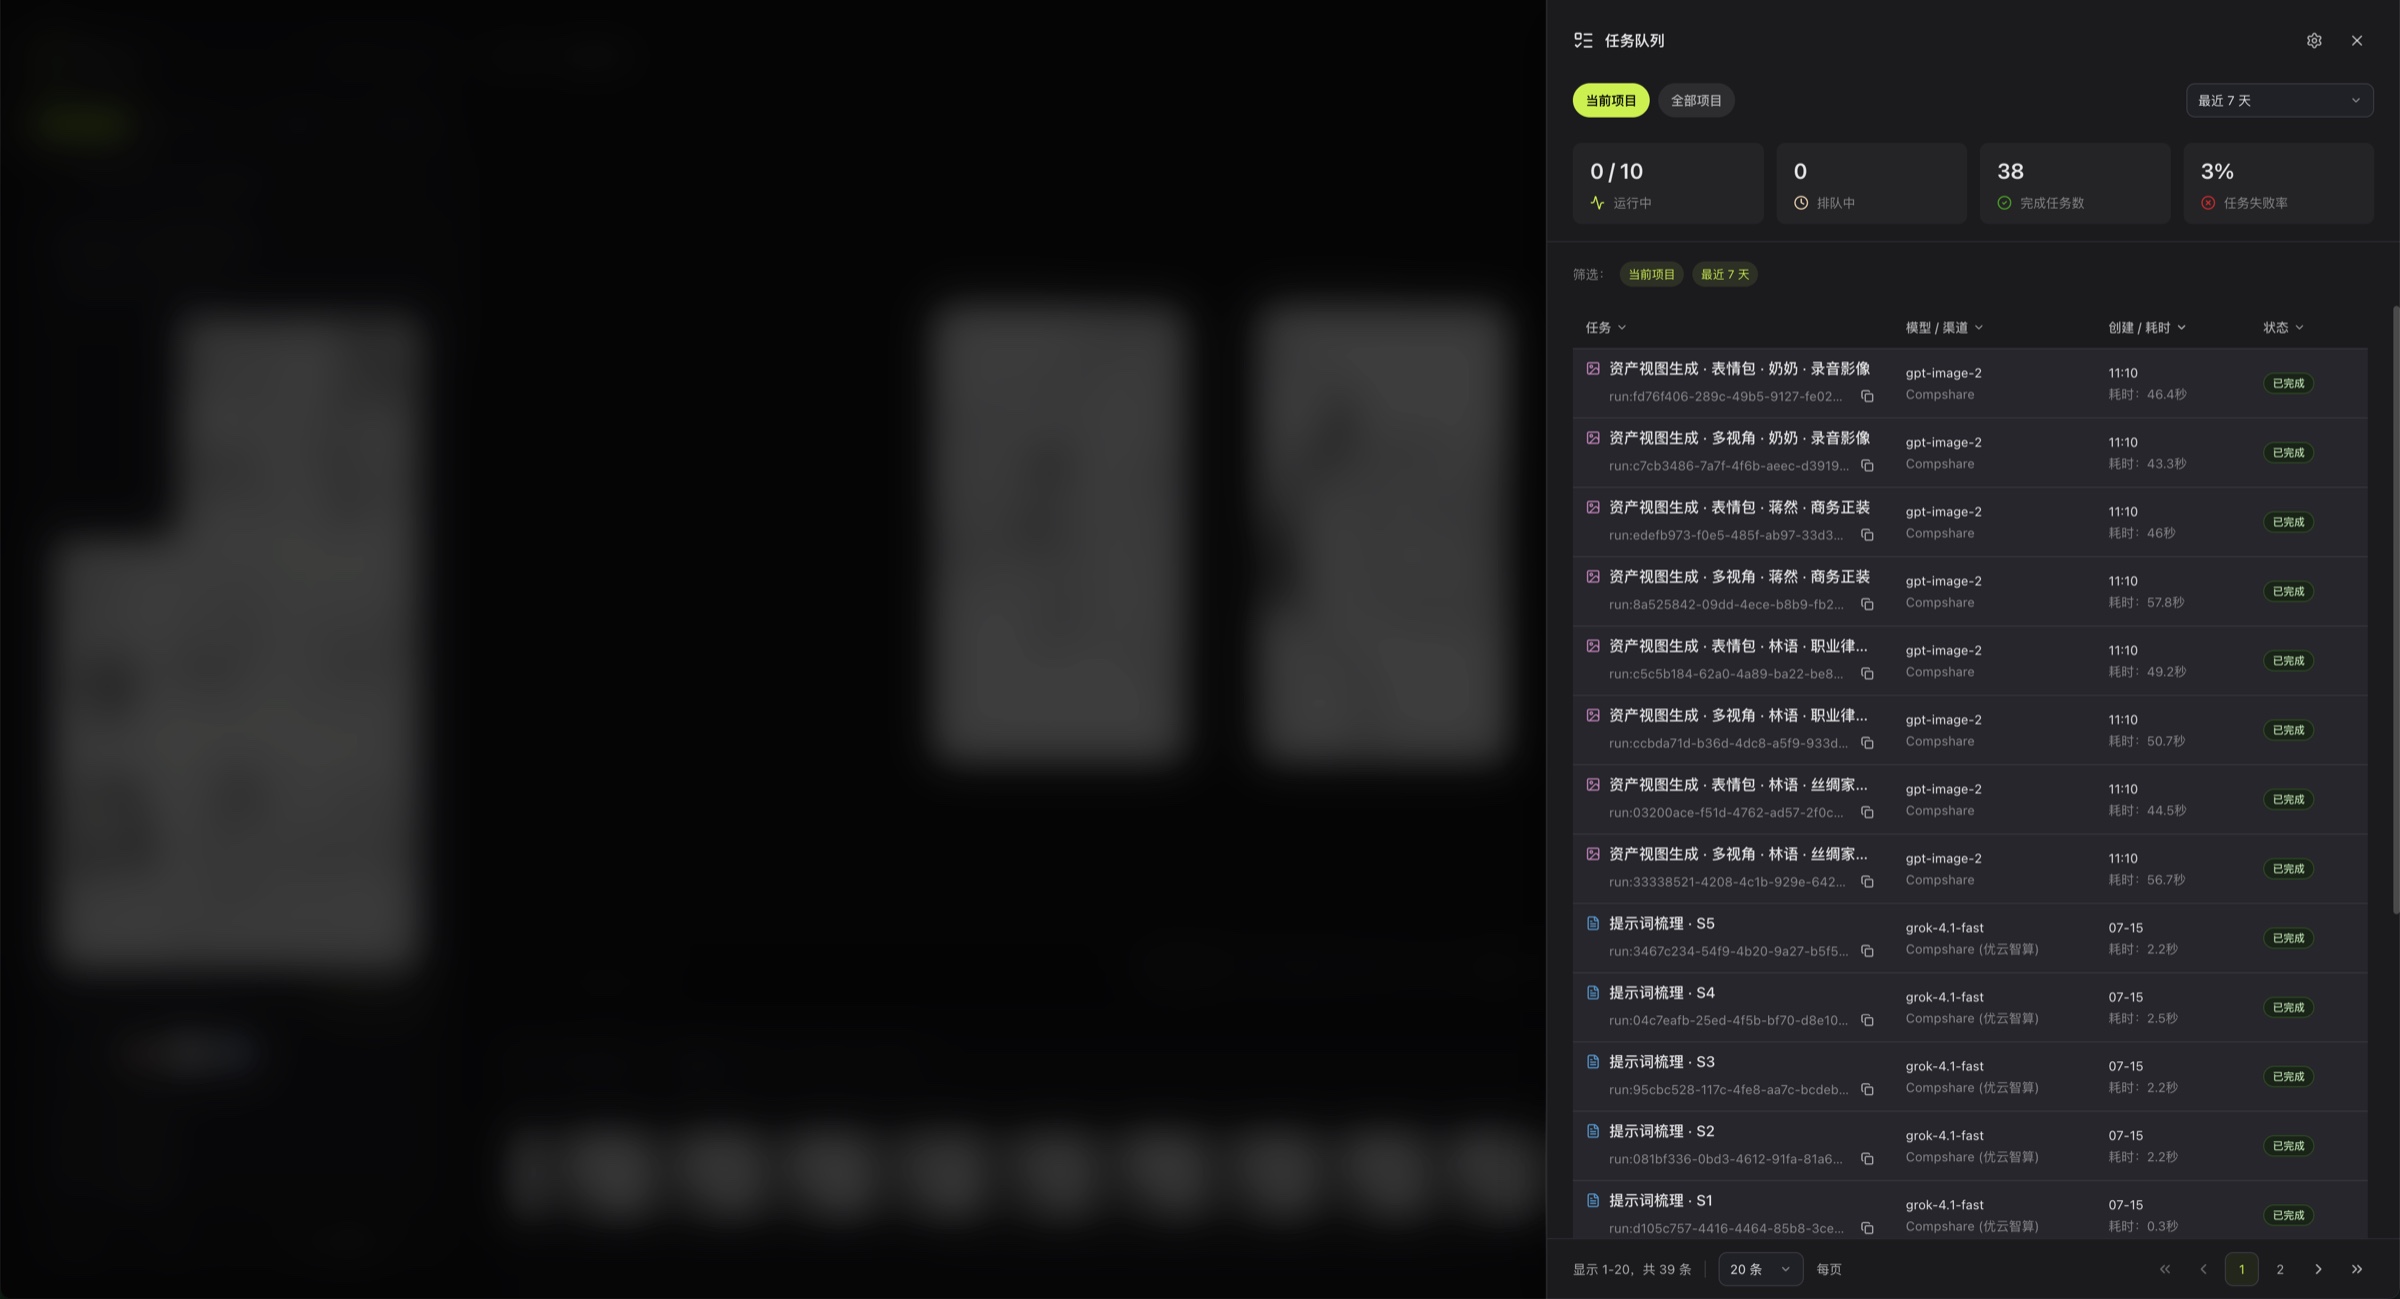
Open the task queue and filter tasks by the current canvas. When a task fails, open its details, confirm the task name, model, duration, and error summary, then decide what to retry.
Do not resubmit the whole episode because one shot failed. Queued tasks can be canceled, and running tasks can be interrupted, but the model request may already have incurred a charge. After interruption, Bomiio drops later results, and the model service may not stop immediately.
## Step 9: Enter the Editor
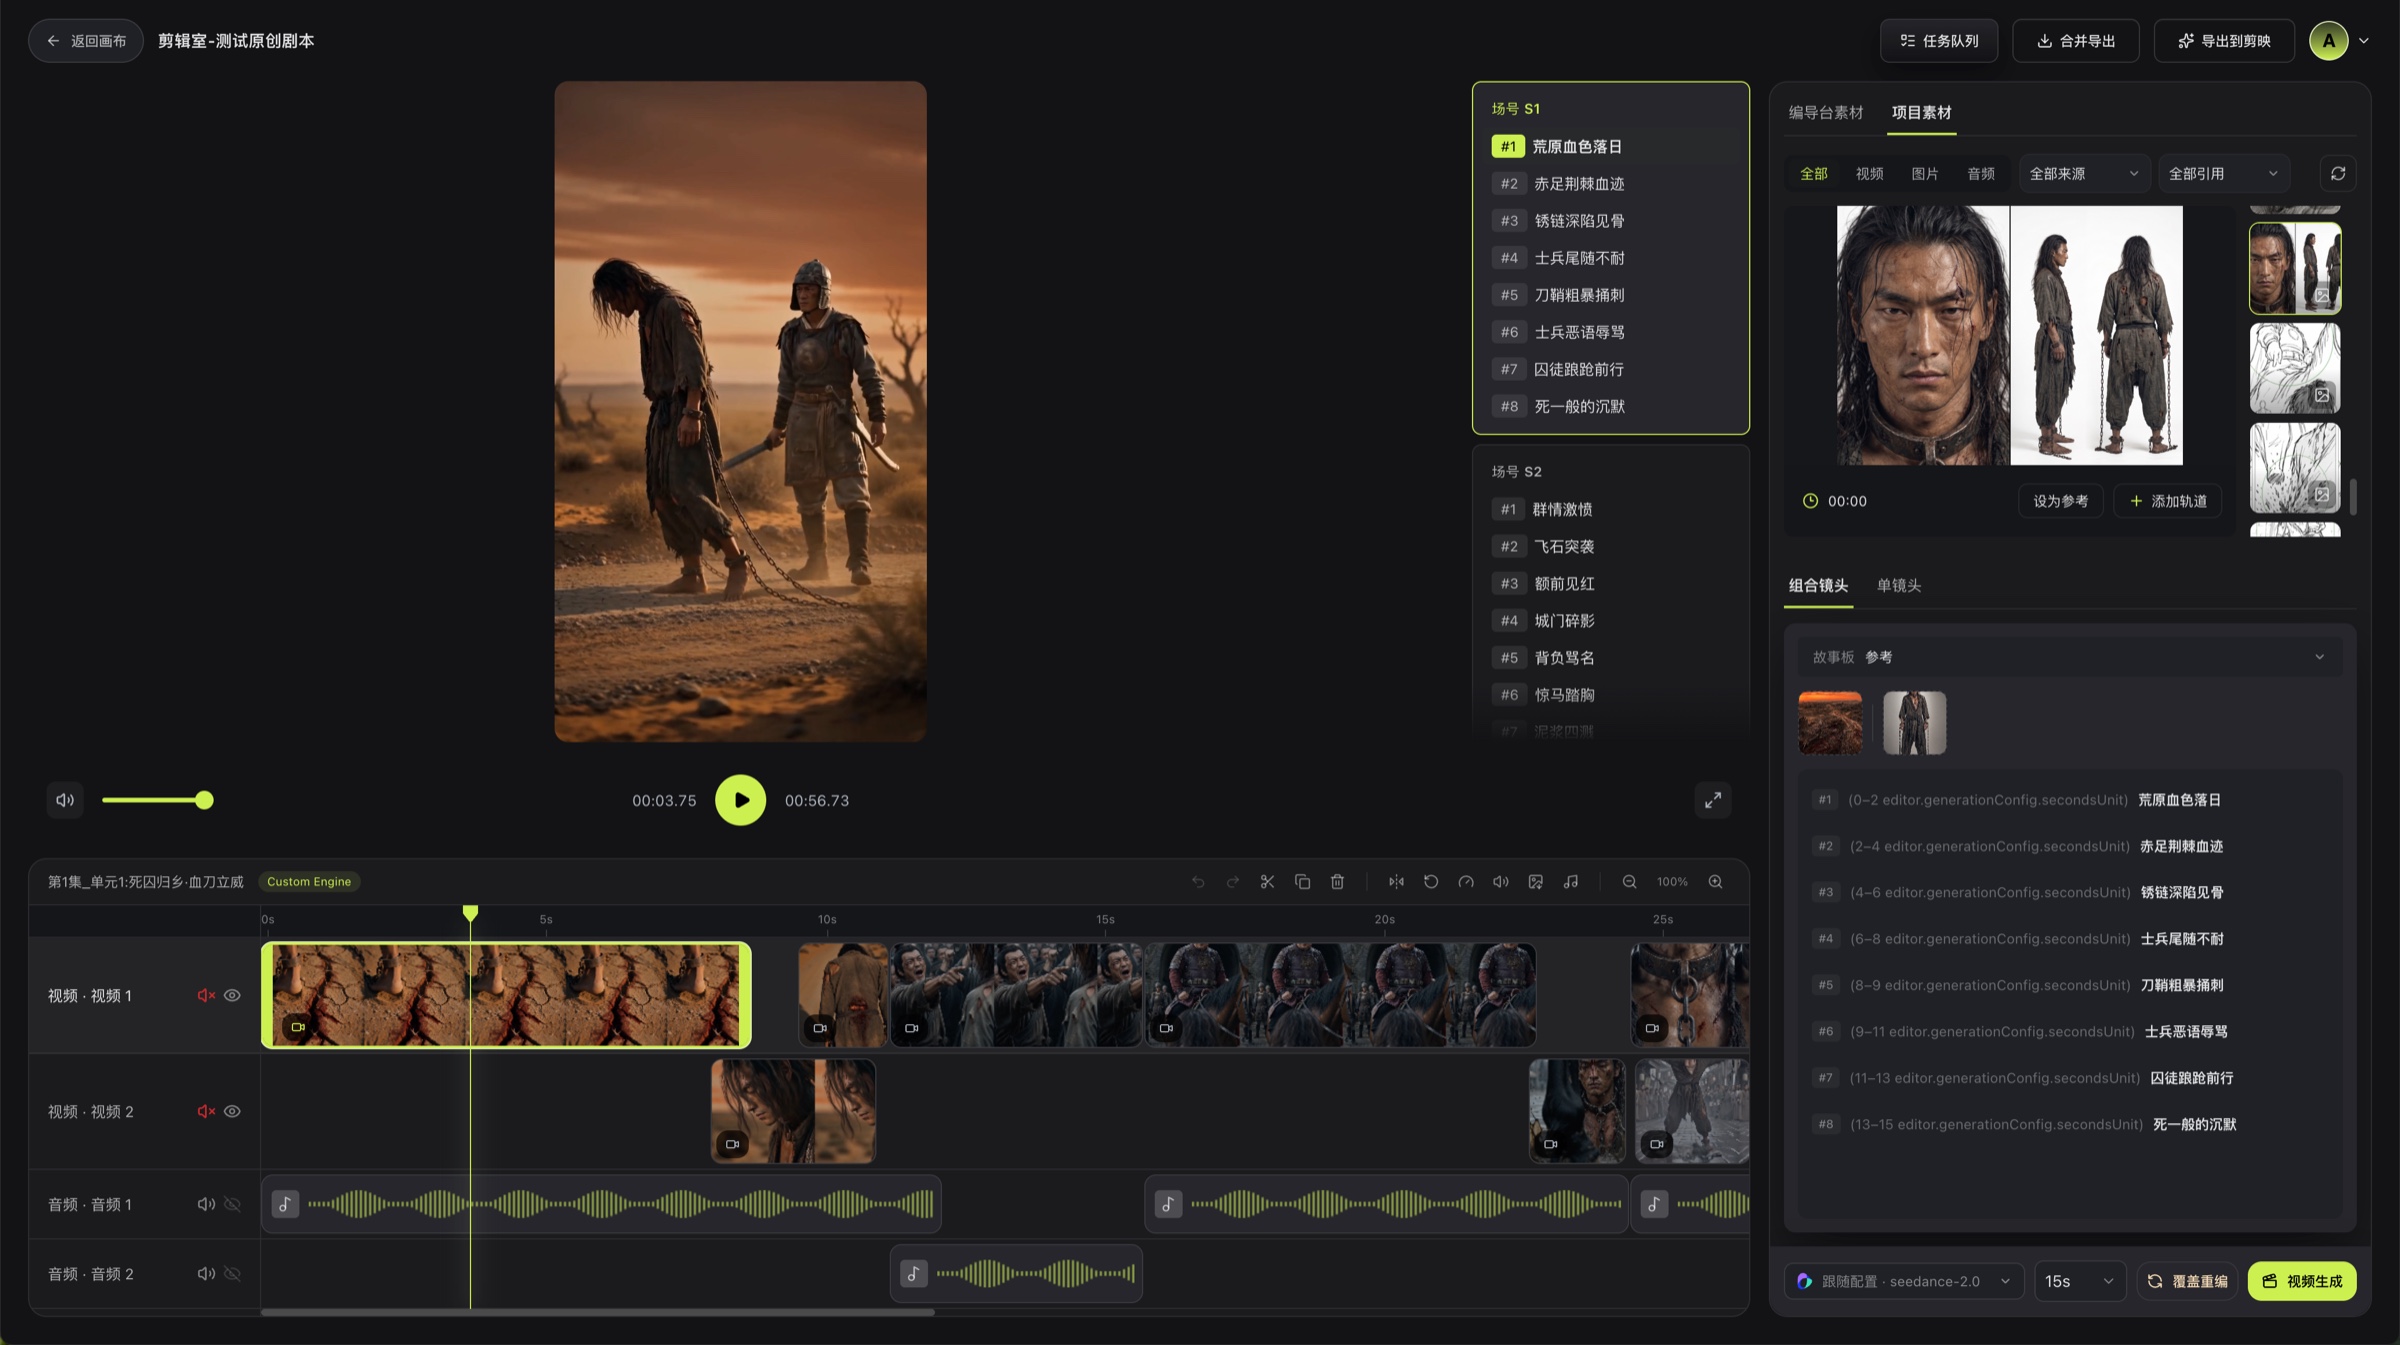
Once the video assets are ready, enter the Editor:
1. Select the current shot or scene group from the shot list.
2. In the Media panel, view videos, images, storyboards, and canvas media from the Director Console.
3. Add the needed assets to the timeline tracks.
4. Adjust the clip order to match the story.
5. Use split, duplicate, delete, speed, volume, and detach-audio actions when needed.
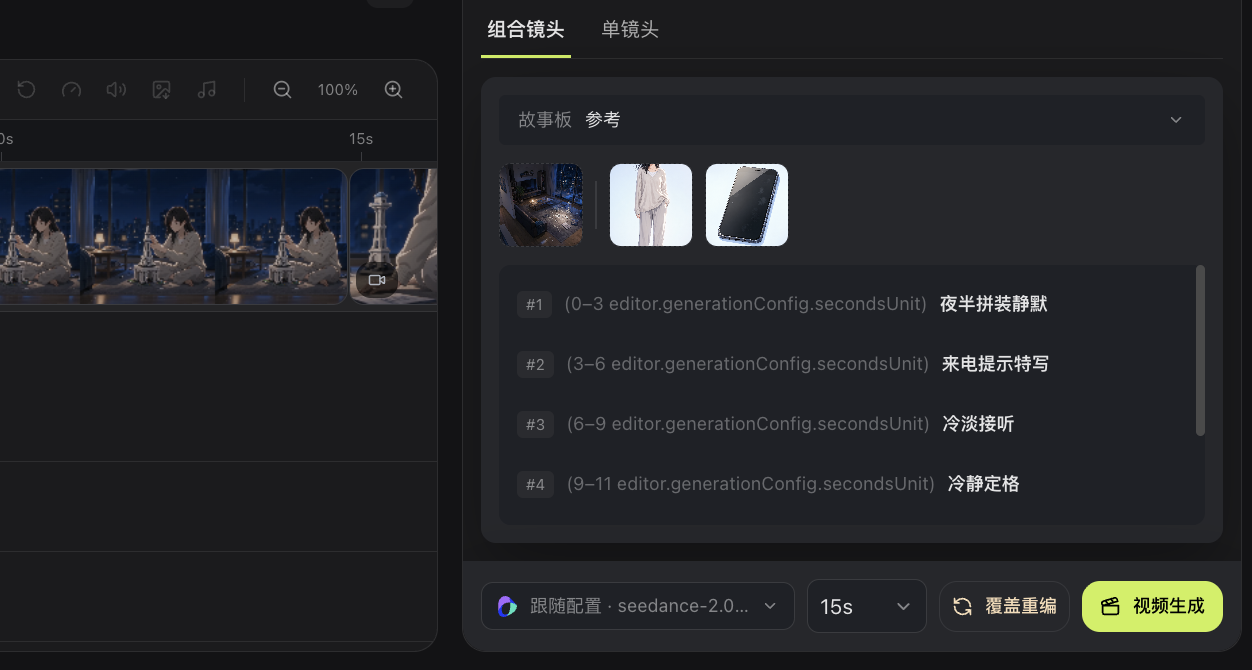
For a first pass, it is best to complete the combined shots first, then fix individual single shots that have problems:
1. Choose "Combined Shot". When AstraFlow supports it, prefer Seedance 2.0 (SD 2.0).
2. Check that the storyboard, character, scene, and prop references are correct before generating a first batch of key combined shots.
3. Check character consistency, scene direction, major actions, and shot transitions. After the overall direction looks right, generate the remaining combined shots.
4. If only a few segments in the combined-shot result have problems, switch to "Single Shot" and regenerate those shots individually with another available generation method or model.
5. Watch the task queue for queued, running, and completed states.
> Seedance 2.0 supports combined-shot generation with storyboard and asset references, which is useful for quickly validating the continuity of a full shot sequence.
The supported reference modes and parameters vary by model. Use the options currently available in the AstraFlow-connected interface.
## Step 10: Preview the full episode
Play the entire episode from the beginning and focus on checking:
- Whether the timeline has unexpected gaps or overlapping clips.
- Whether the shot transition order is correct.
- Whether the durations of the video and still frames are appropriate.
- Whether the video's original audio, separate audio, and overall volume match expectations.
- Whether hidden video tracks or muted audio tracks are intentional.
If you find a problem, adjust only the related clips, then preview again starting from the adjacent shot.
## Step 11: Merge and export
Click "Merge & Export" at the top of the Editor. You can check progress during export. When the process finishes, Bomiio starts downloading the video.
If export fails, first confirm that all required assets are still accessible, then check the "Final Video Export" task details in the task queue.
## Tips to improve your first-episode success rate
- **Start small, then scale up**: verify the main character, main scenes, and key shots first, then batch-generate the rest.
- **Fix assets before shots**: if assets are inconsistent, fix the assets first to avoid remaking storyboards and videos repeatedly.
- **Retry only the failed item**: use task details to find the exact failure point instead of restarting from the beginning.
- **Keep the default configuration for the first pass**: get the full workflow working first, then adjust style or generation methods for specific issues.
- **Keep a new variant for important changes first**: when you push assets back from Infinite Canvas and are unsure, save them as a new variant. Merging into the original variant overwrites data and cannot be undone.
## Learn more
- [Director Console Overview](/docs/bomitv/director/overview.md)
- [Asset Editing](/docs/bomitv/director/asset-editing.md)
- [Storyboard](/docs/bomitv/director/storyboard.md)
- [Editor Overview](/docs/bomitv/editor/overview.md)
- [Asset Refinement Workflow](/docs/bomitv/workflows/refine-assets.md)
- [Troubleshooting Guide](/docs/bomitv/help/troubleshooting.md)